Gulf Shores Family Beach Trip: October 4, 2014

I am determined to chronicle our family beach trip to Gulf Shores, Alabama, so I’m back-posting starting with Day 1, which consisted mostly of driving a van pulling our little fishing boat and a truck pulling our camper. Somehow, I managed to come out on the better end of that deal as I had our oldest, aka Curly, who is 16 now and a licensed driver, with me along with Li’l Bit and Li’l Bro. They barely made any sounds the entire trip, and Curly and I had some good convos on the way down PLUS he drove the entire trip down, which took us about 8 hours with lots of traffic late Saturday afternoon as we neared the beach.

IMG_3088

When we got there, a cold front was crossing over the biggest part of the Southeastern United States including Gulf Shores, so it was going to be a cold night down in the upper 40s. The boys might have gotten a bit chilly that first night in the tent, but after that it was never below 60 degrees at night.

The best surprise other than the FABULOUS campground we discovered at Gulf State Park was the alligator friends in the canal behind our campsite. Yes, they were in there just steps from our site, and it was actually fun to see them come out each evening at dusk to presumably find their dinner. Thankfully, they weren’t interested in eating any of us. If you look closely at the photos below, you can see just the top of the the head of what we figured was about a 4-foot-long gator based on the time we saw him/her surface more to check us out.

IMG_3091

Continue reading

signature

Leaf Animals

We’ve been exploring leaves in our Botany class, and we plan to do this project below again this year. I took these photos last October with my then 2nd graders and 3-year-old, yet I never blogged about them. I thought it would be fun to share this fun little idea this Fall. The leaves are falling here and we have some beautiful colors already.

I highly recommend this book especially for this project, and I have included a widget below it with other book suggestions. It also includes our science text for this year: Exploring Creation with Botany.

IMG_7752

Aren’t these so adorable?!

This one is an alligator made by Li’l Bit:

IMG_7750

IMG_7749

This is a beautiful butterfly made by Li’l Miss:

IMG_7744

IMG_7746

This is a turtle made by Li’l Bro:

IMG_7754

Last but not least, this is my frog complete with some eggs:

IMG_7743

Try this with your students as you explore the beautiful colors of Fall! Please share below what is your favorite season and why.

signature

PreK with Li’l Bit {Week 6}

Pre-Kindergarten with Li’l Bit is going well, especially when I think back to this time last year. She still doesn’t relish a choice of things to do. She’d rather have a blank canvas, whether it be beans and things with which to pour, put, place, ponder or a piece of paper and dabs of paint with brushes, marbles, q-tips, or her fingers to make a masterpiece!

GLE.LetterC

This last week, we concentrated on the Letter C and though we spent time on some indoor activities, in all honesty we spent a lot of time OUTSIDE just enjoying the beauty that this Fall is becoming!

Here’s a brief look back at our week:

GLEWeek6.1

While working on multiplication flash cards with my 3rd graders, I encouraged Li’l Bit to take the scraps of paper (NEVER throw away those laminated scraps!) and make a collage in her little book. She had so much fun making a colorful sunflower and cutting grass from the green strip of paper! Continue reading

signature

Spreading the Homeschool Love: Blog Hop and Giveaway

I am so excited to be a part of the Spreading the Homeschool Love Blog Hop and Giveaway. I am joining with some great homeschool teacher-authors to introduce you to some great sources for encouragement, ideas, collaboration and resources!
TpT Homeschool Blog Hop Image

I will share with you some more information about myself first. I added my first priced resource to my Teachers Pay Teachers store Page Protector Printables and More a little more than two years ago in May 2012. I have added more resources over time and also learned a lot about providing the highest-quality resources. I was inspired to begin my store when a resource I created to help my then kindergartners work with a calendar during Morning Meeting led to them actually understanding the calendar! That resource is now one of my best-selling resources: Build A Calendar.

PPPCalendarPage1

I continue to seek out high-quality resources at Teachers Pay Teachers, and I can ALWAYS find just what I need to supplement my children’s educational journey. While there are a wealth of free items available at TpT, I encourage you to look there for resources priced at all intervals to teach your preschoolers through high schoolers in any subject. One of the free resources I’ve found useful was created and shared by Rebecca of Line Upon Line Learning. Be sure to check out her blog and find the free resource {here}.

I have several free resources available in my TpT store as well. One of my most popular resources that you can download for free is my Number 11 Sample pack. You will find 10 different ways your child can explore the Number 11 in this free download. If you like what you see, you can find a link to a larger version that contains these same 10 activities for Numbers 1-20 (or Numbers 1-10 and Numbers 11-20 are available for separate purchase as well).

PPP.Number1-20TenWaysBundleCOVER PPP.Number10-20COVER PPP.Number1-10COVER

One of the best aspects of Teachers Pay Teachers is that you can take confidence in knowing you are purchasing one-of-a-kind resources from actual people who are teaching children! These resources are more often than not created from a teacher’s desire to make a resource to meet the need or needs of students in his her classroom. If you need a specific resource or need help intervening in your child’s learning journey, I am 100% certain you can find what you need at Teachers Pay Teachers! I would encourage you to start your search at one of the stores owned by the amazing bloggers I’ve teamed up with for this Blog Hop and Giveaway.

Before you hop over to another blog to read about more of the hard-working homeschool teacher-authors of TpT, be sure to ENTER our AMAZNG GIVEAWAY using the rafflecopter below! First check out the wonderful resources you are entering for a chance to win!

Blog Hop Prize

a Rafflecopter giveaway

We are so glad you stopped by and hope you’ll continue on to another blog below!  Please be sure and share with your FB friends and blog friends about our Blog Hop and Giveaway. Link back to my blog or another, so they can join in the fun and learning!

signature

PreK with Li’l Bit {Week 5}

Last week we studied the Letter T in PreK with Li’l Bit. It was kind of a short week in that we had to cut out early on Tuesday for an afternoon orthodontist appointment in our old town (45 minutes away), early on Wednesday for an afternoon therapy appointment an hour away (normally it is a different town half an hour away), and then we also had the plumbers here with the septic issues, painters here all week working outside and … it was just a crazy week of having to go here and there and everywhere.

GLEWeek5.1

Top to Bottom: PaTTern Blocks Memory Match, “Taking a Trip” made a suitcase and cut out Things to Take; Tracing T words like Tree and carroT and putting on the T page in our alphabet book; cutting out Traced lines; one-to-one counTing with doTs

 Running from appointment to appointment with our three younger children (and sometimes the big ones) in tow is just life sometimes with multiple children with multiple needs and an old home that sometimes has old-house issues. Alas, we still managed to have lots of learning with the Letter T in the spotlight. For our Bible story, we read about Abraham and Lot and how they traveled with tents and how Abraham let Lot choose which land in which he wanted to settle.

GLEWeek5.2

Top to Botton: Highlight of the week–finding a Tree Frog in the yard; studying letters and words with our naTure letter cards; Telling a story in a book made with big bro and big sis; played Chutes and Ladders and looked for the letter T everywhere; narrated stories for Tiger and Lion puppets made last week; had stories and one day of school in a “tent” built over her rug; and tried to Train our hens to lay some more eggs!!!

Li’l Bit can tell me what sound EVERY SINGLE LETTER makes, which thrills my heart. She is already figuring out words by looking at the beginning and ending letters, and she is reading many CVC words. Truth be told, if I pushed at all I think she’d be reading well within 6 months. I’m just not interested in pushing, but I am putting a pallet of choices in front of her! I plan to share more about what we’re doing with pre-reading in another post.

This week, we’re exploring the Letter C and learning about colors and Joseph’s Coat of Many Colors. I will post more about that this weekend hopefully. If you are looking for more Letter/Alphabet activities, please follow my Pinterest board: A is for Apple (and other ABC Ideas).

signature

How Do You Spell …

… should be a banned phrase.

OK, in all seriousness, it shouldn’t. However, hearing this phrase 100+ times a week can in fact make one contemplate whether or not writing is in fact a necessary part of the school day.

Of course, writing isn’t optional, so what to do?

IMG_2180

Well you could spell the words for your students 1,589 times a week or you can encourage them in creative ways to become more confident in their abilities to decode and decipher. I’m choosing option B more often than not these days. Below I’ll outline 5 ways to achieve spelling independence, and I will share in this widget some tools and books we use in our spelling lessons.

5 Ways to Achieve Spelling Independence


1. Use a spelling program.


That seems obvious enough doesn’t it? I have tried. Believe me, I’ve tried. I can’t even say that one hasn’t worked, because if I’m being completely honest I just haven’t stuck with it. I don’t even remotely like spelling lessons. I guess part of the blame lies in the fact that spelling comes very naturally for me, and I suppose in a way I just think (and secretly wish) it was that way for everyone. But it isn’t.

IMG_2184

So we’re using The Logic Of English Essentials Teacher Guide and Student Cursive Workbook along with the Phonogram Cards and Gamebook. My 3rd graders love the games of course, and the lessons aren’t so bad. I have one natural speller and one who spells completely phonetically, which just doesn’t work for most English words beyond CVC words.

IMG_1632


IMG_2185

I am using this resource with both students for now, but there may come a time as the year progresses where I will need to spend some one-on-one time with them on spelling. When and how, I’m not sure yet, but we’ll make it work! Continue reading

signature

Multiplication Facts with Visual Demonstrations

If I’m being completely honest, I’ve been slightly afraid terrified of teaching the times tables. Now that I have two 3rd graders in our one-room schoolhouse, I can’t avoid the times tables anymore. Who knew, though, they could be so much fun?

Recently, we reviewed some arrays and then we combined art with math for a hands-on approach to the why behind multiplication. If you’d like to try Multiplication Arrays with a City Skyline with your students, please check out Elementary AMC and download the freebie recording sheet while you’re there!

MultiSkyline

After my 3rd graders completed their own Multiplication Skylines, they traded papers and used the last column of the recording sheet to check each others’ work and record the correct color of the array shown on each building. They really loved this math lesson, and they wanted the photos printed for inclusion in their math journals!

To continue our study of arrays, we used small cubes one day to work out problems of our own choosing. They had to then show the problems on their papers using blocks and write out the equations as well.

MultiplicationManipulatives

Again, this was just another way to explore the why behind multiplication in a hands-on approach. Though my children were in 2nd grade last year, we don’t really follow the CCSS closely so arrays are not something we spent a great amount of time on last year. I do feel they are mature enough now to grasp multiplication and so far they are loving it! It is always fun when one of your students has a lightbulb moment like one of mine did and then said: “This is really just adding the same number over and over again.” I didn’t tell them this right off as I was hoping for them to see the patterns for themselves—love it when this happens!

I recently updated a resource I created a few years ago. Now my Multiplication Charts include facts through 12 x 12. It includes 3 color charts and 2 black-and-white charts for printing ease as well. If you’re not following me on Facebook, why don’t you consider liking my page? From time to time, I will offer Flash Freebies like I’m about to do for the next 5 minutes with this resource below. Please go LIKE Page Protector Printables and More on FB to find out about flash freebies, read valuable content and find out about my newest resources in my TpT store.

MultiplicationTableto12COVER

Please Share in the Comments: How do you bring multiplication alive for your students?

signature

Why Can’t I Multiply Myself: Meeting Needs of Learners of Multiple Ages and Abilities

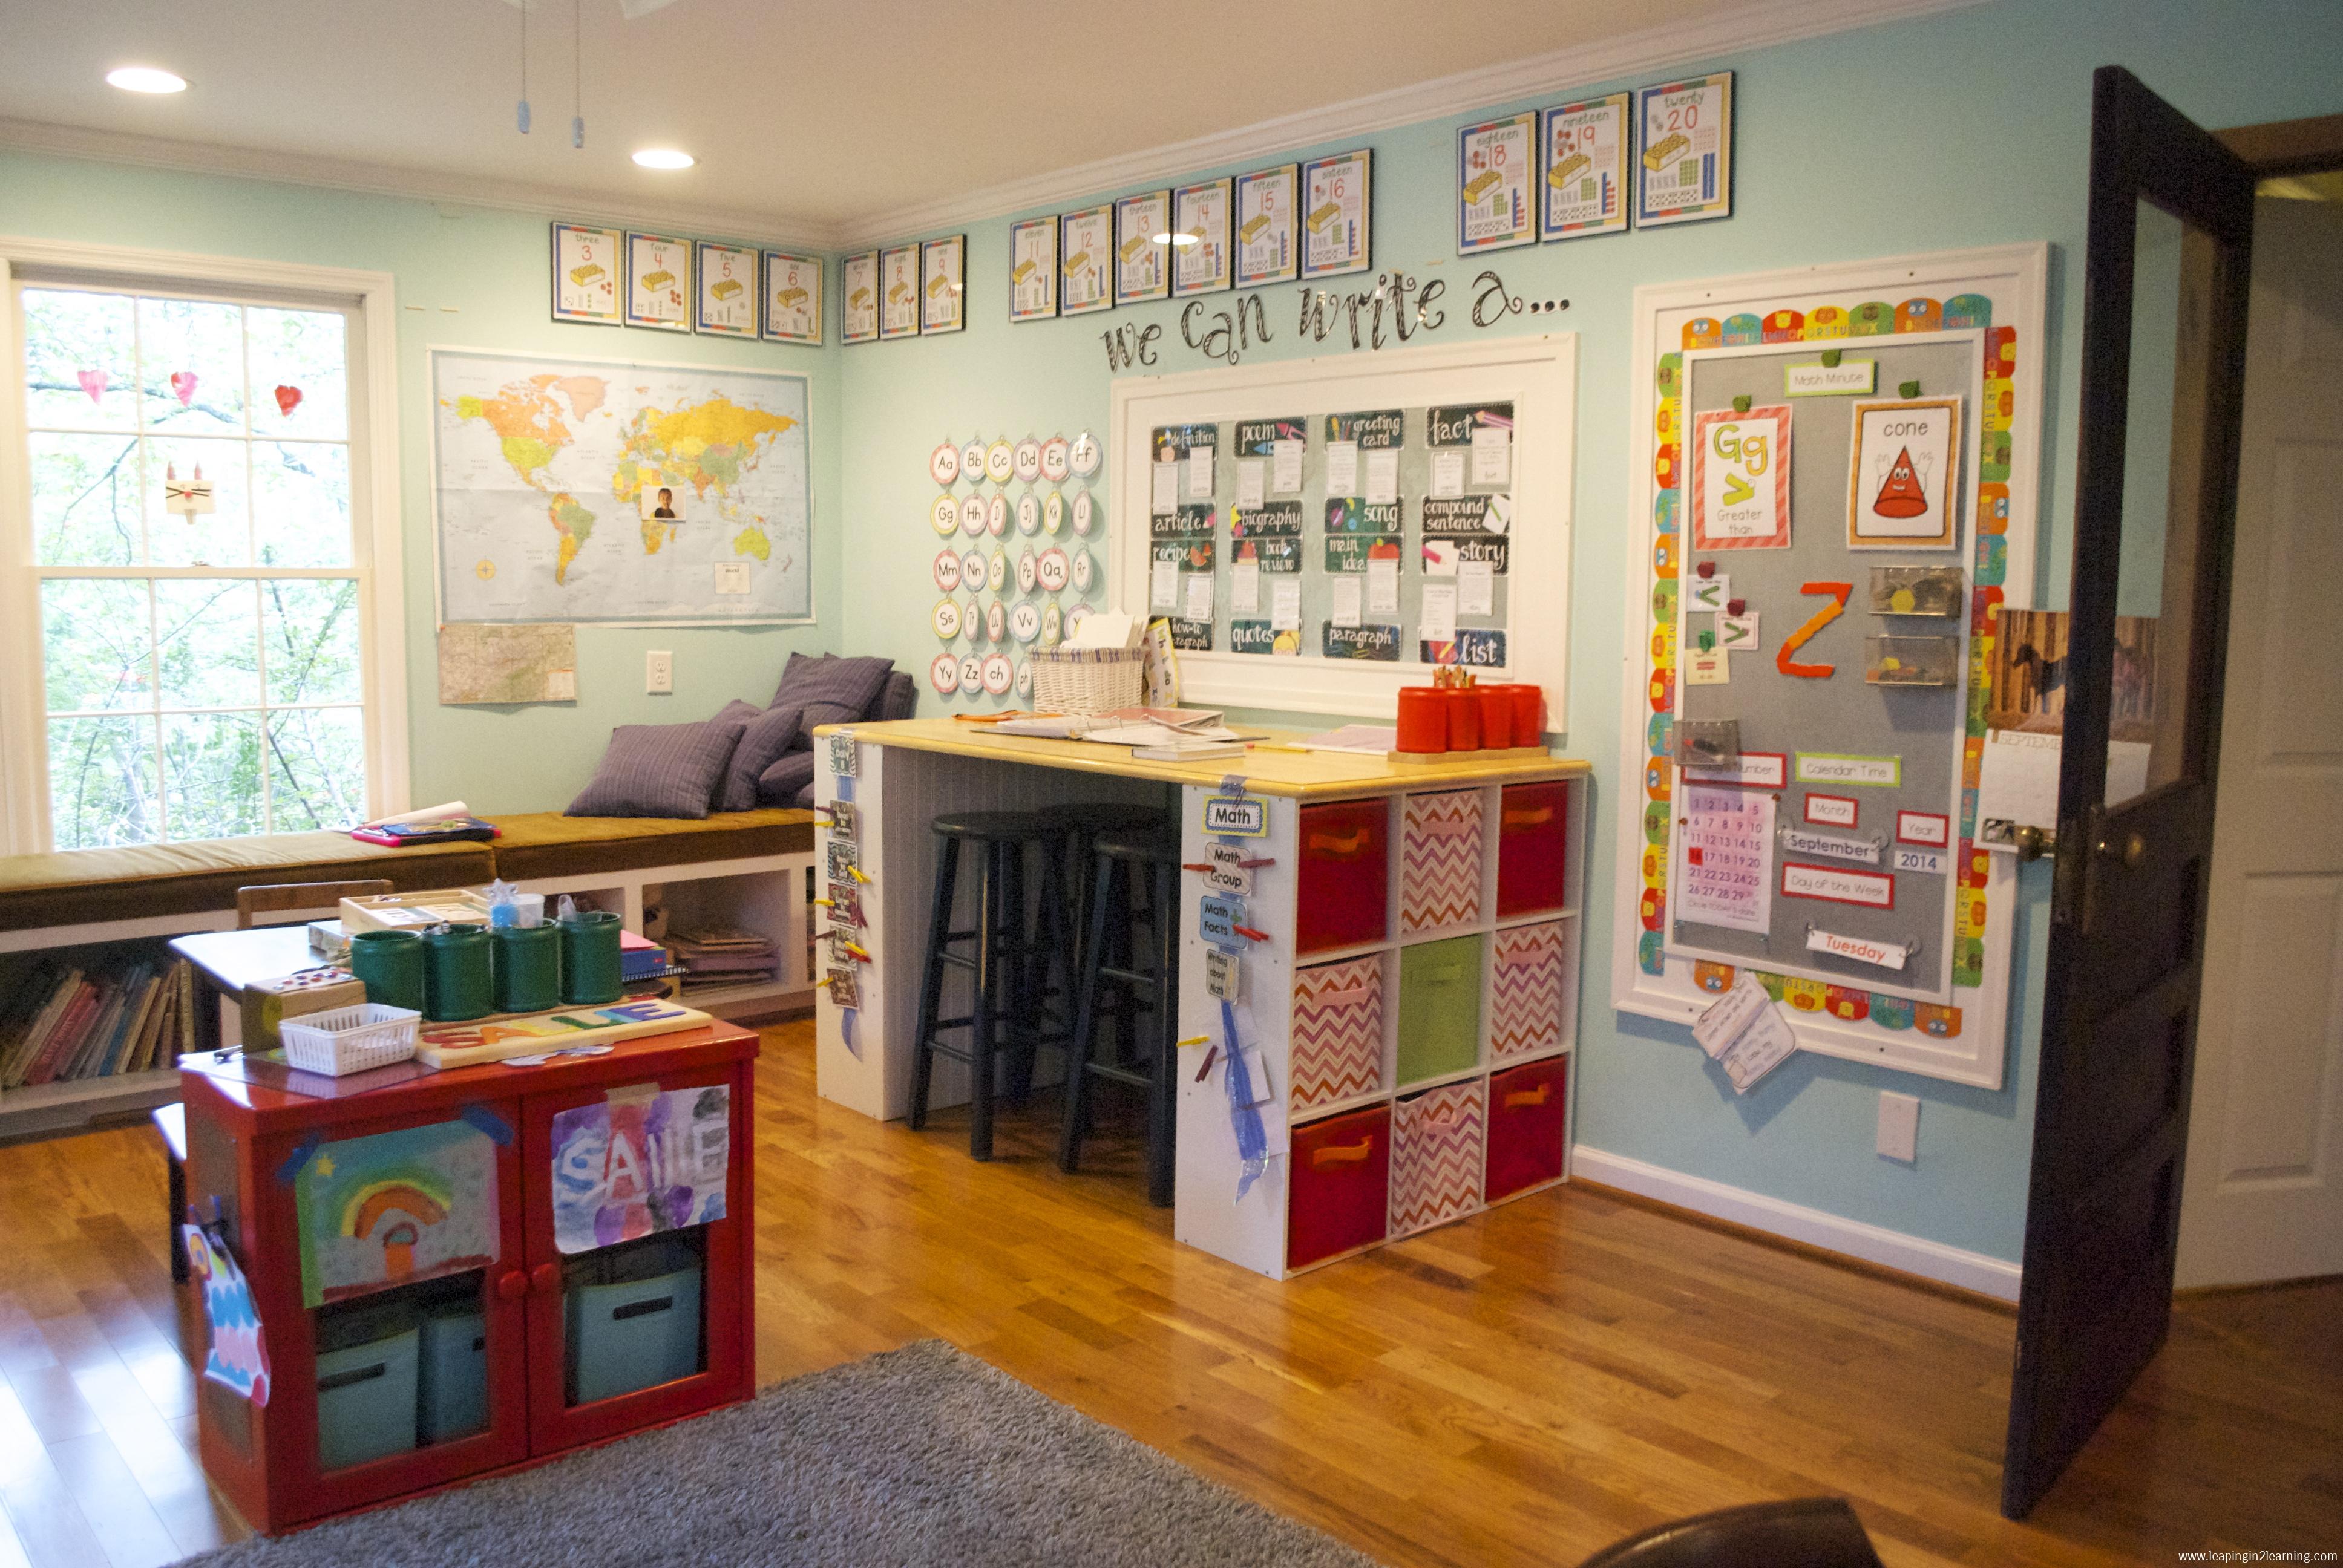
Over the last five years, I’ve had students as young as 4 and students as old as 16. In fact, this year, I again have a 4-year-old in my class and for the first time ever I have a 16-year-old in my class. In all honesty, I don’t call the place where I teach a classroom. Instead, I refer to it as our library.

IMG_2245

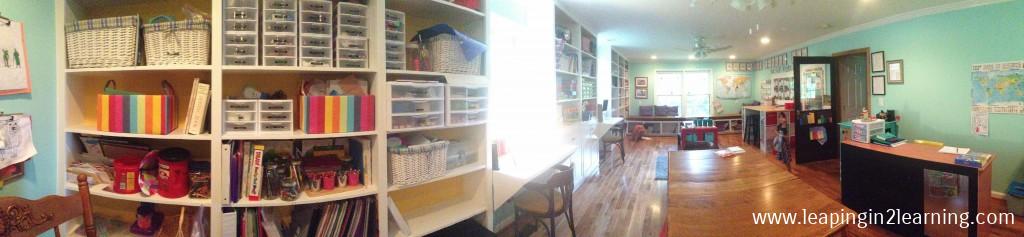
When I think of what I hope to happen over the course of our days of learning, I think of scenes from a well-functioning library: students of many ages and abilities coming to a central location to learn at their own pace and from resources created for their unique levels and interests.

I will share four ways I have implemented a successful learning environment for students from preschool to high school.


1. Since I can’t multiply myself, I make myself available at specific times for specific students.


Many teachers do this everyday. You are most likely meeting with small groups or individual students over the course of a typical school day.

IMG_2552

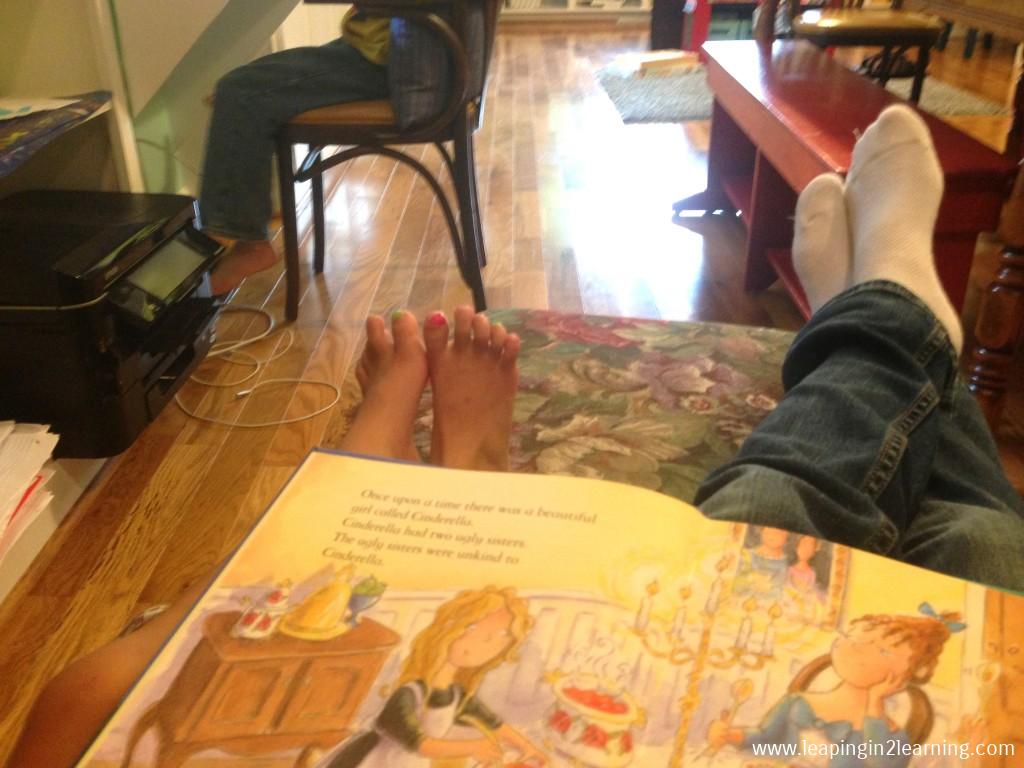
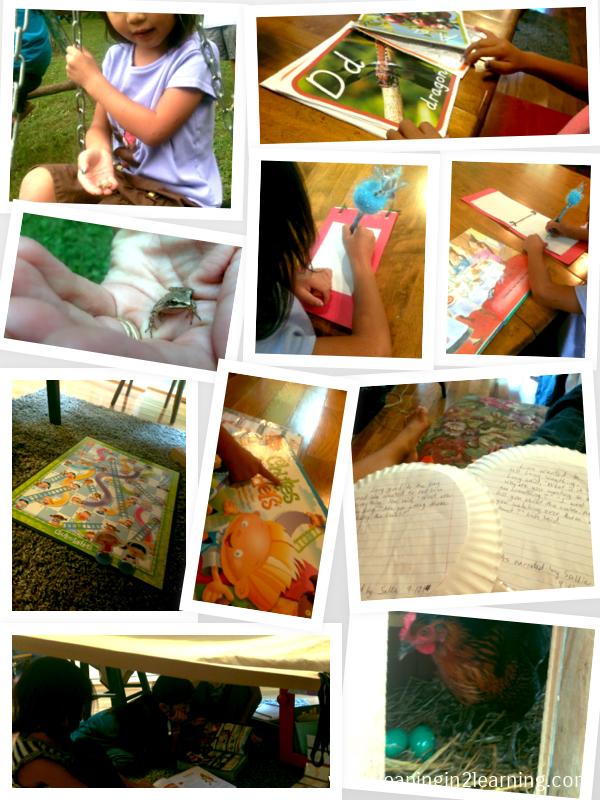
Each morning, I begin with my most needy student, who happens to be the youngest in my class at age 4. When I spend one-on-one time with her first, the rest of the day is always smoother and more productive. This time always includes reading a few books together, some of my choosing and some of hers, and on Mondays we also begin a new letter focus for our week.

IMG_2201

IMG_2252

After our focused time together, I encourage her to peruse independent activities from her workboxes. I won’t lie. She has been my most difficult student to embrace independent learning, but with time and patience she is learning this time can be rewarding and fun.

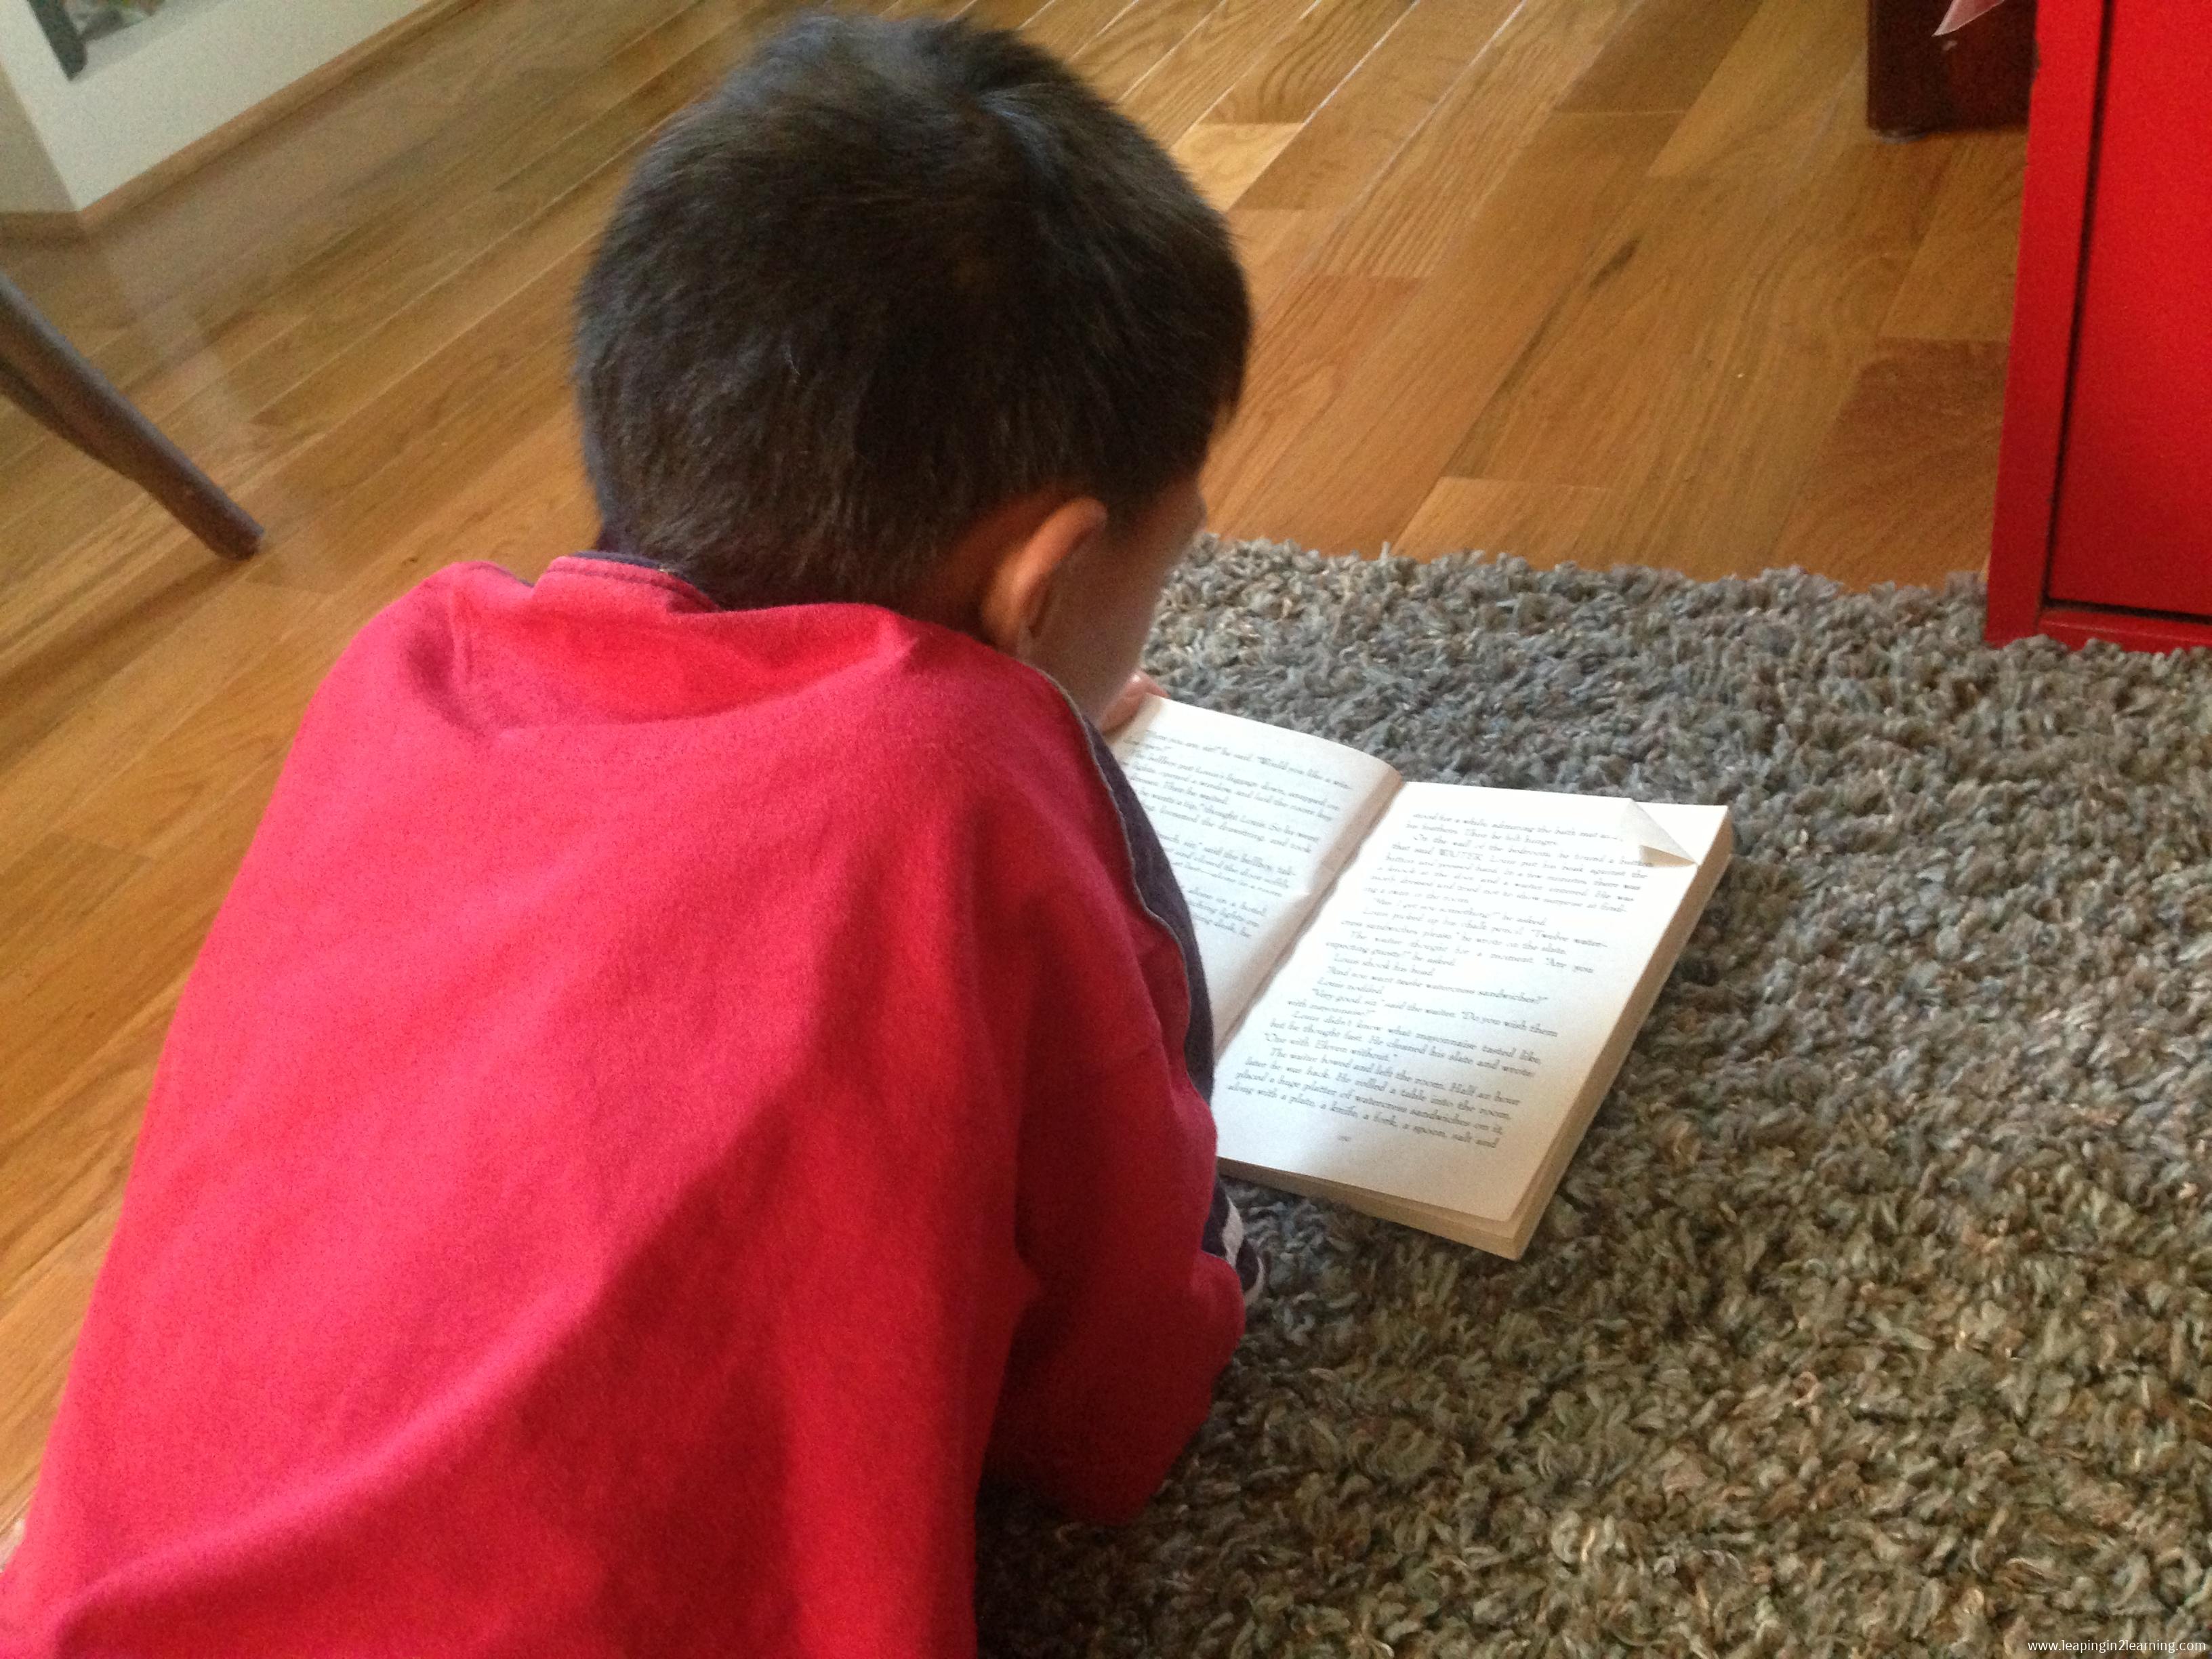
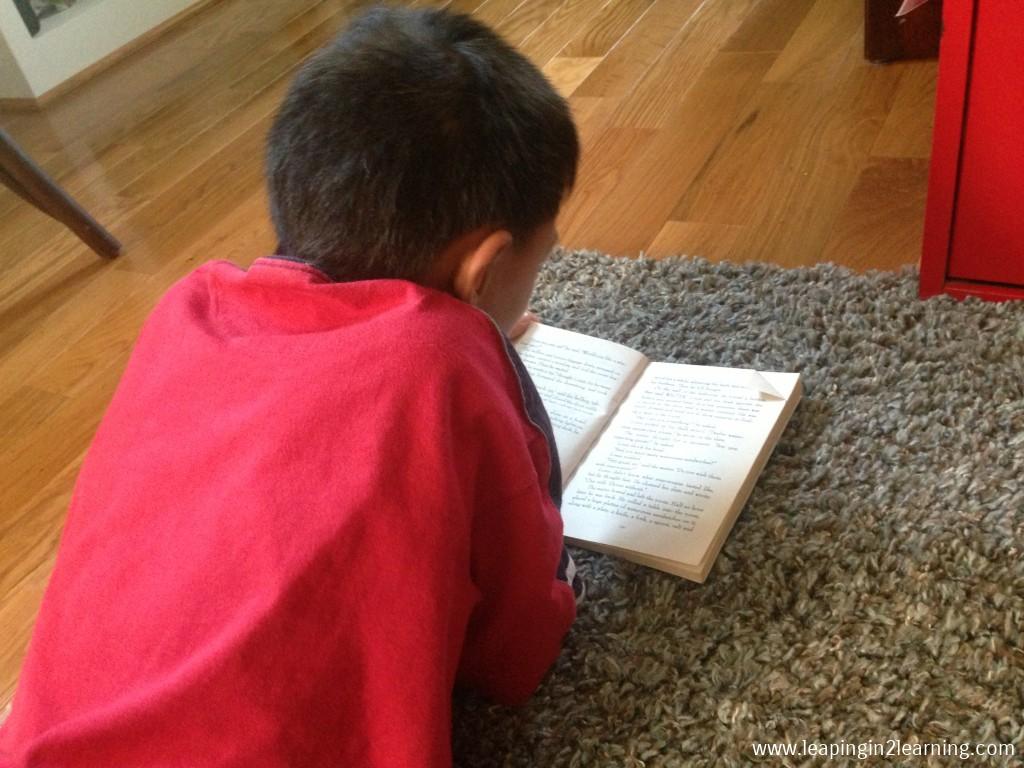
At the same time I am working with my little Pre-Kindergartner, my oldest, who is in 10th grade, is busy working on the laptop, which is shared between my four students. Also during this time, my two 3rd graders are working independently on reading to themselves, listening to an audio recording of a book they are reading along in, and/or grabbing one of their own workboxes from their ELA or Math shelves.

IMG_2338

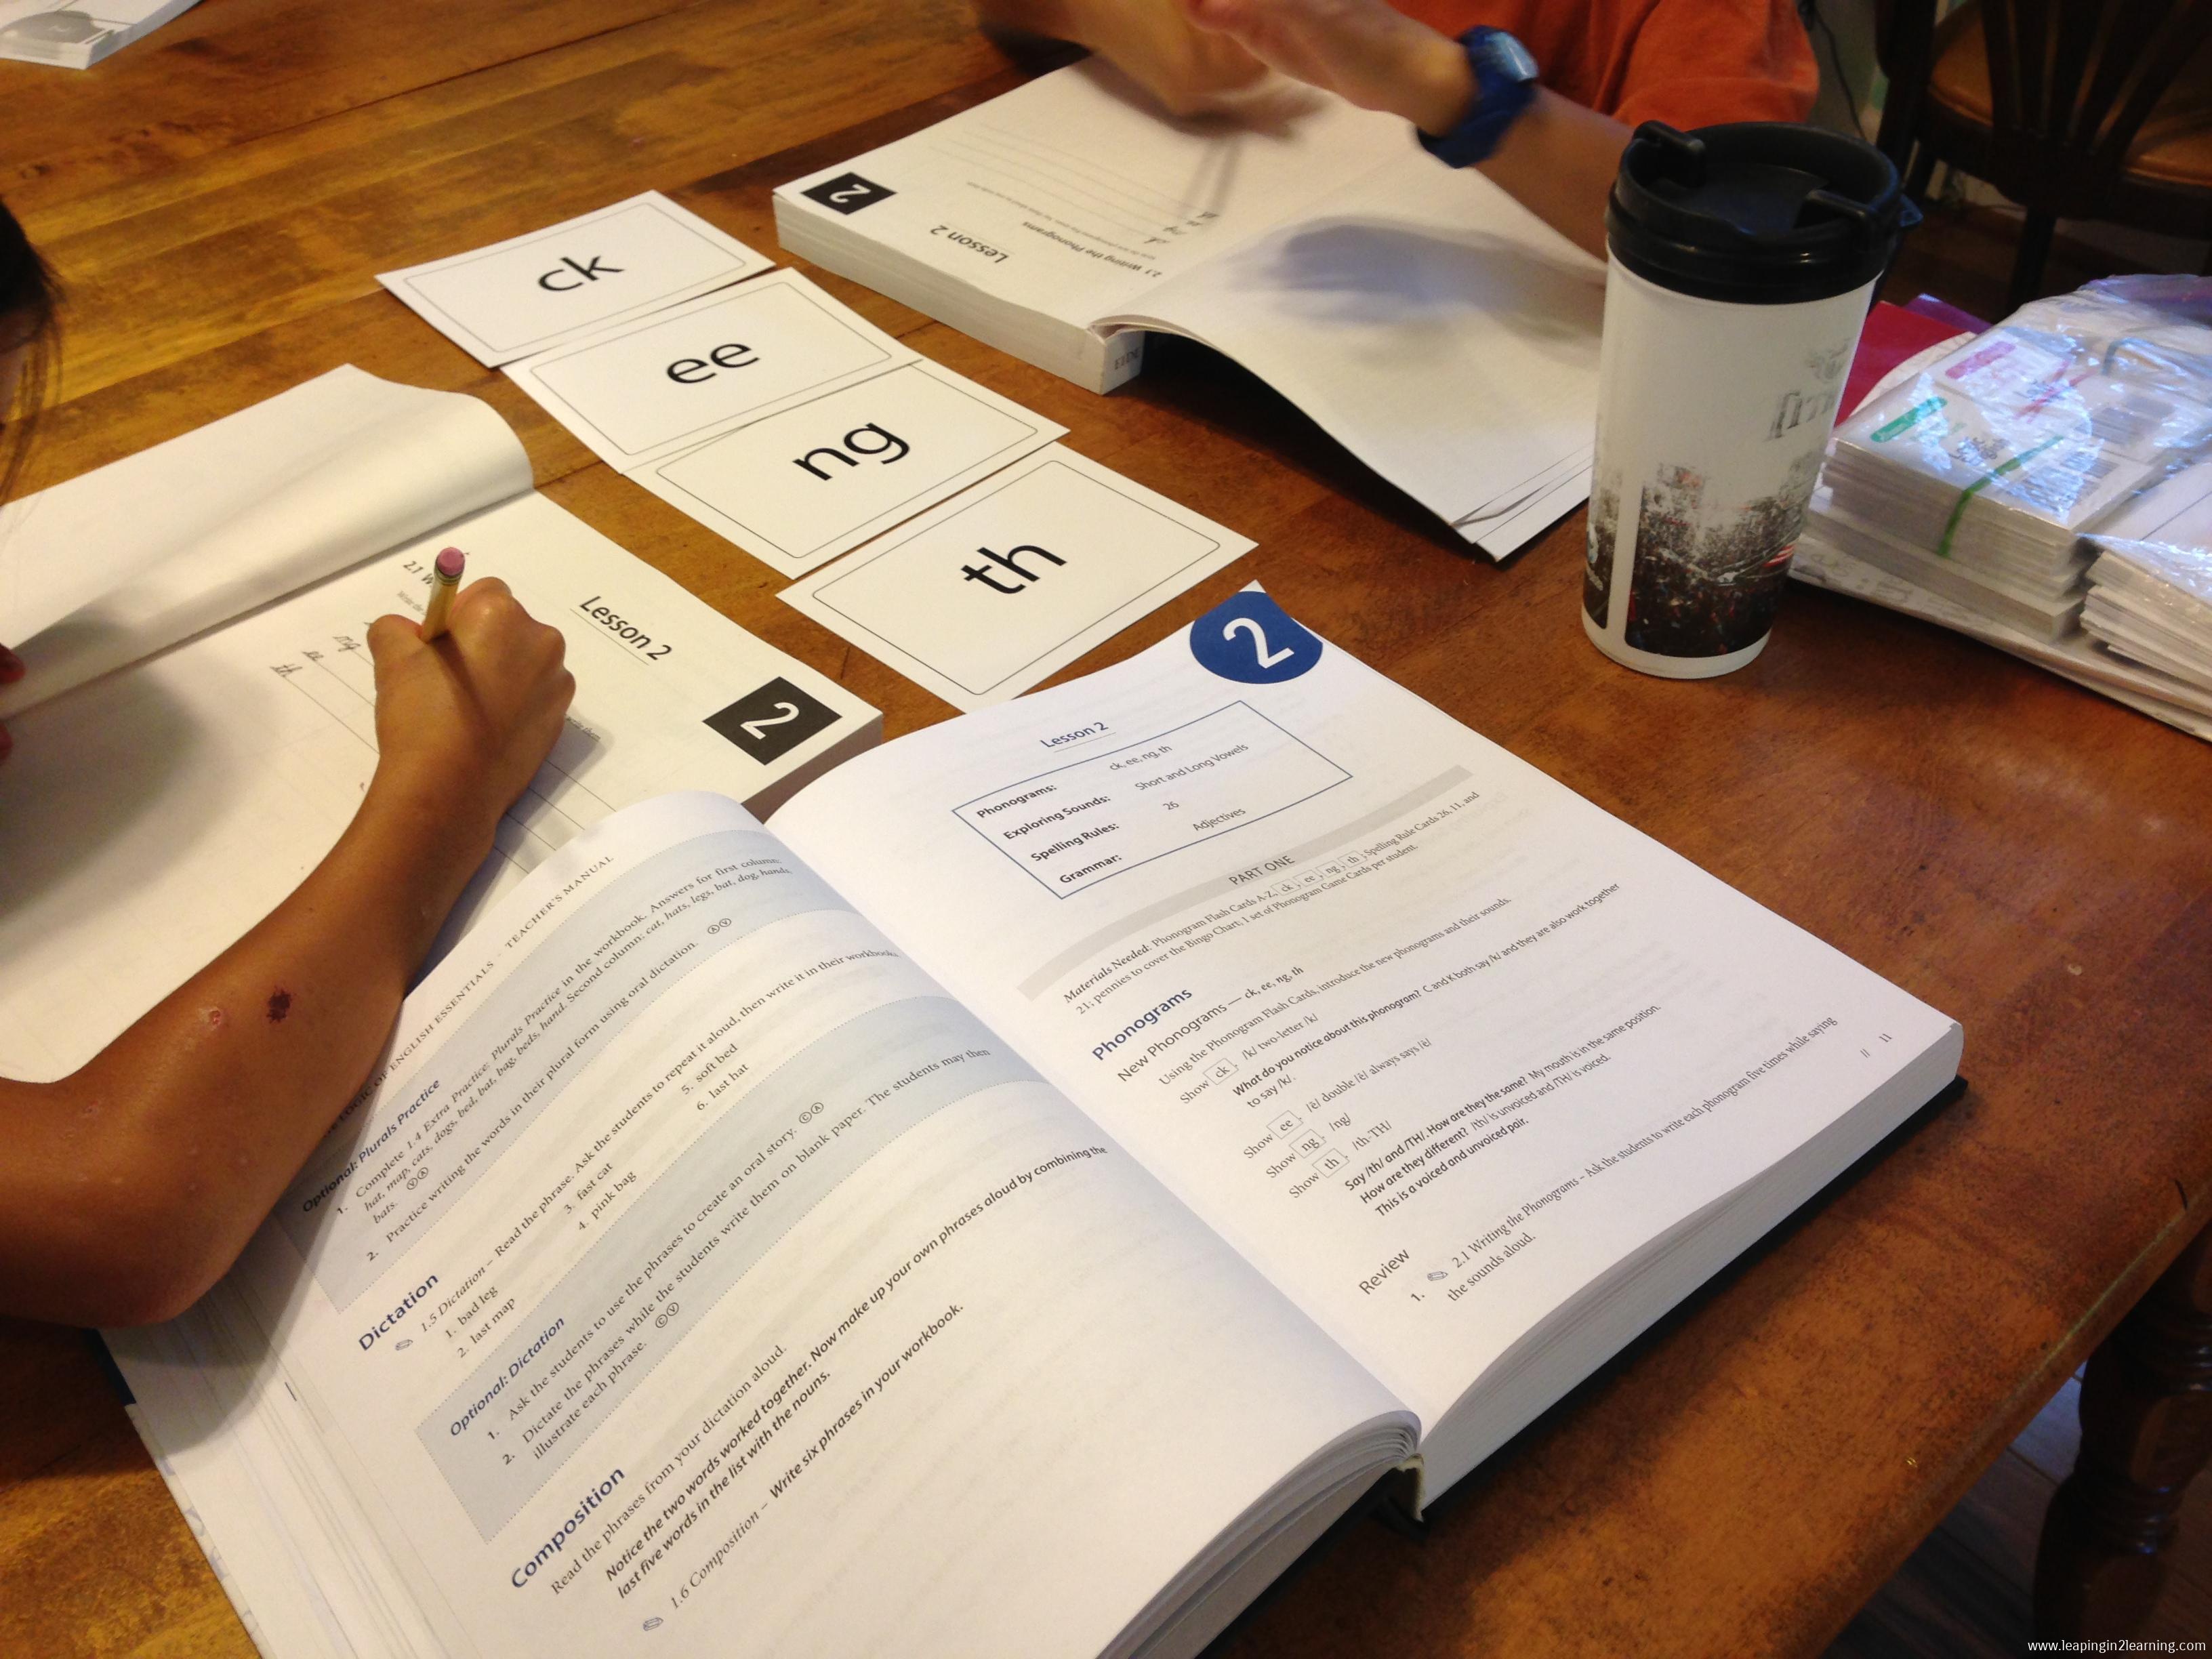
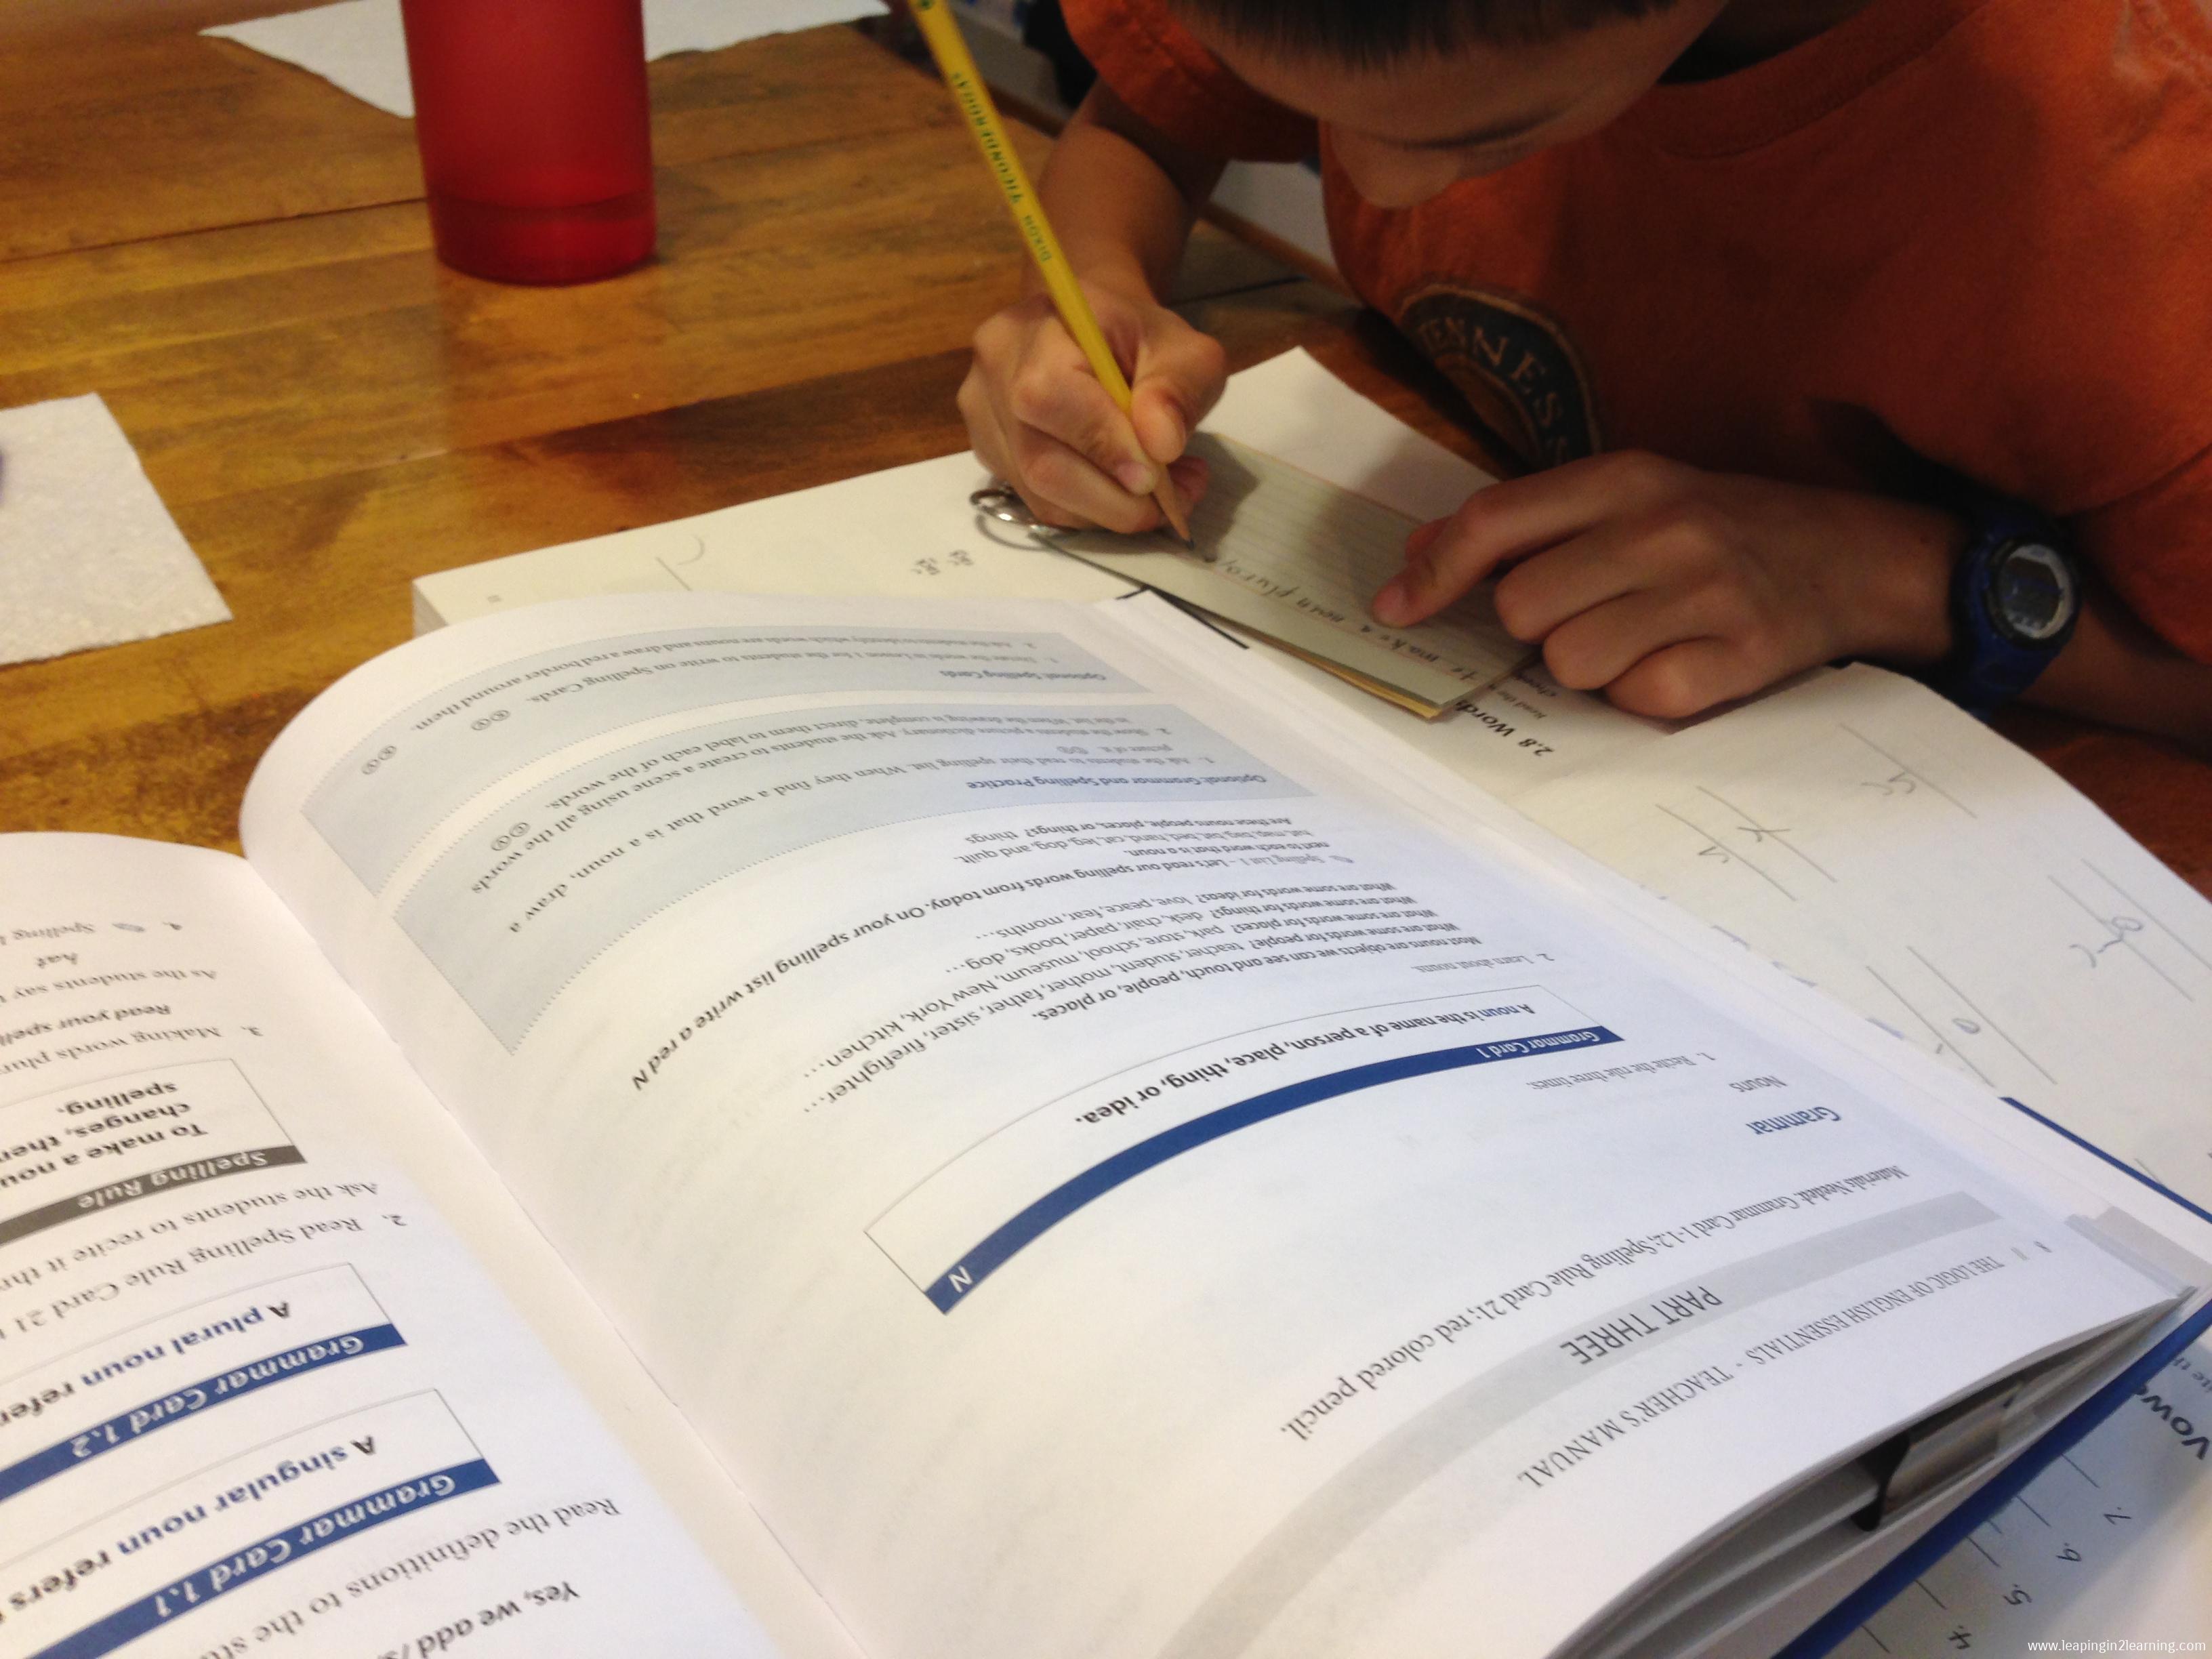
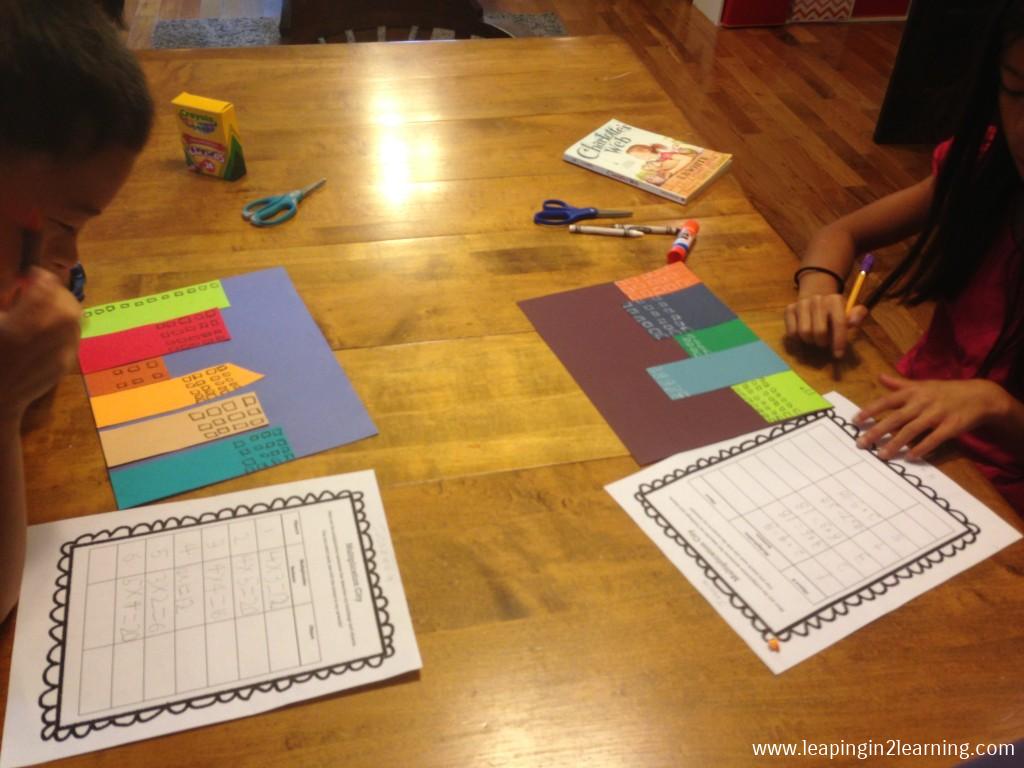
After my time with the PreKer, I move into group time with my 3rd graders, which could be a math lesson, a spelling lesson, a writing workshop, science or history lesson, or a combination of a few of the above. Since we homeschool, we definitely don’t do a group lesson on each subject every day, but we do spend time on each subject every week for a targeted time of learning new content. On this particular day below during a Math Group lesson on multiplication, we were working on a wonderful Multiplication Array activity shared by Elementary AMC.

IMG_1941

I have found posting a daily schedule for all to see not only helps my students to not say constantly, “Will you help me with this?” It also helps ME to stay on task and be present and available when I have said I would be.


2. About those workboxes, they are necessary, needs-based, functional, and fulfilling.


DSC_3142

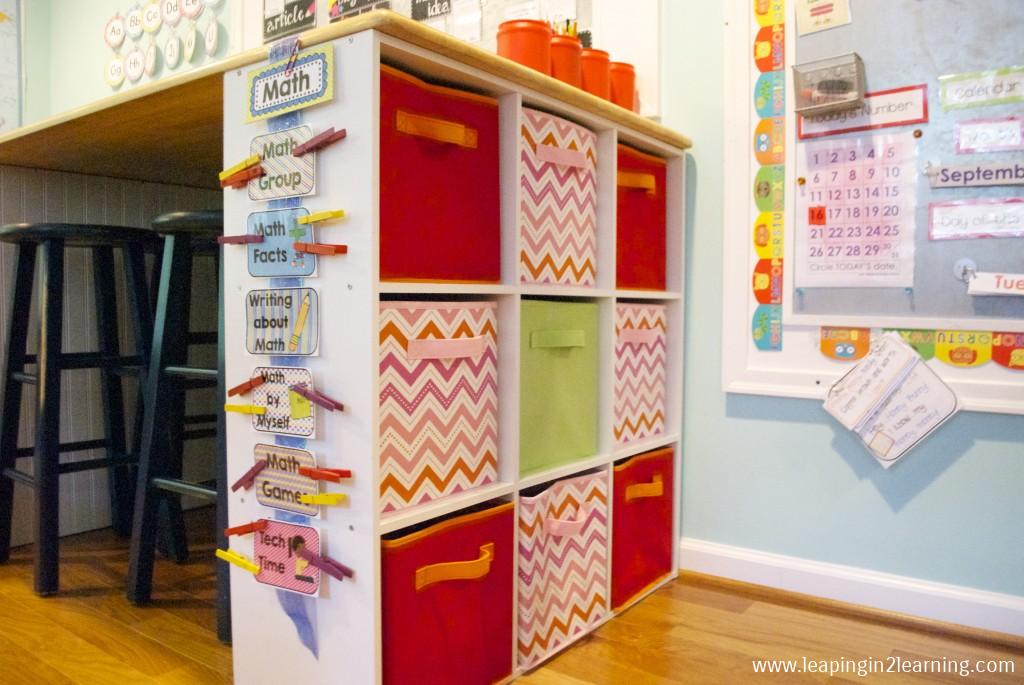
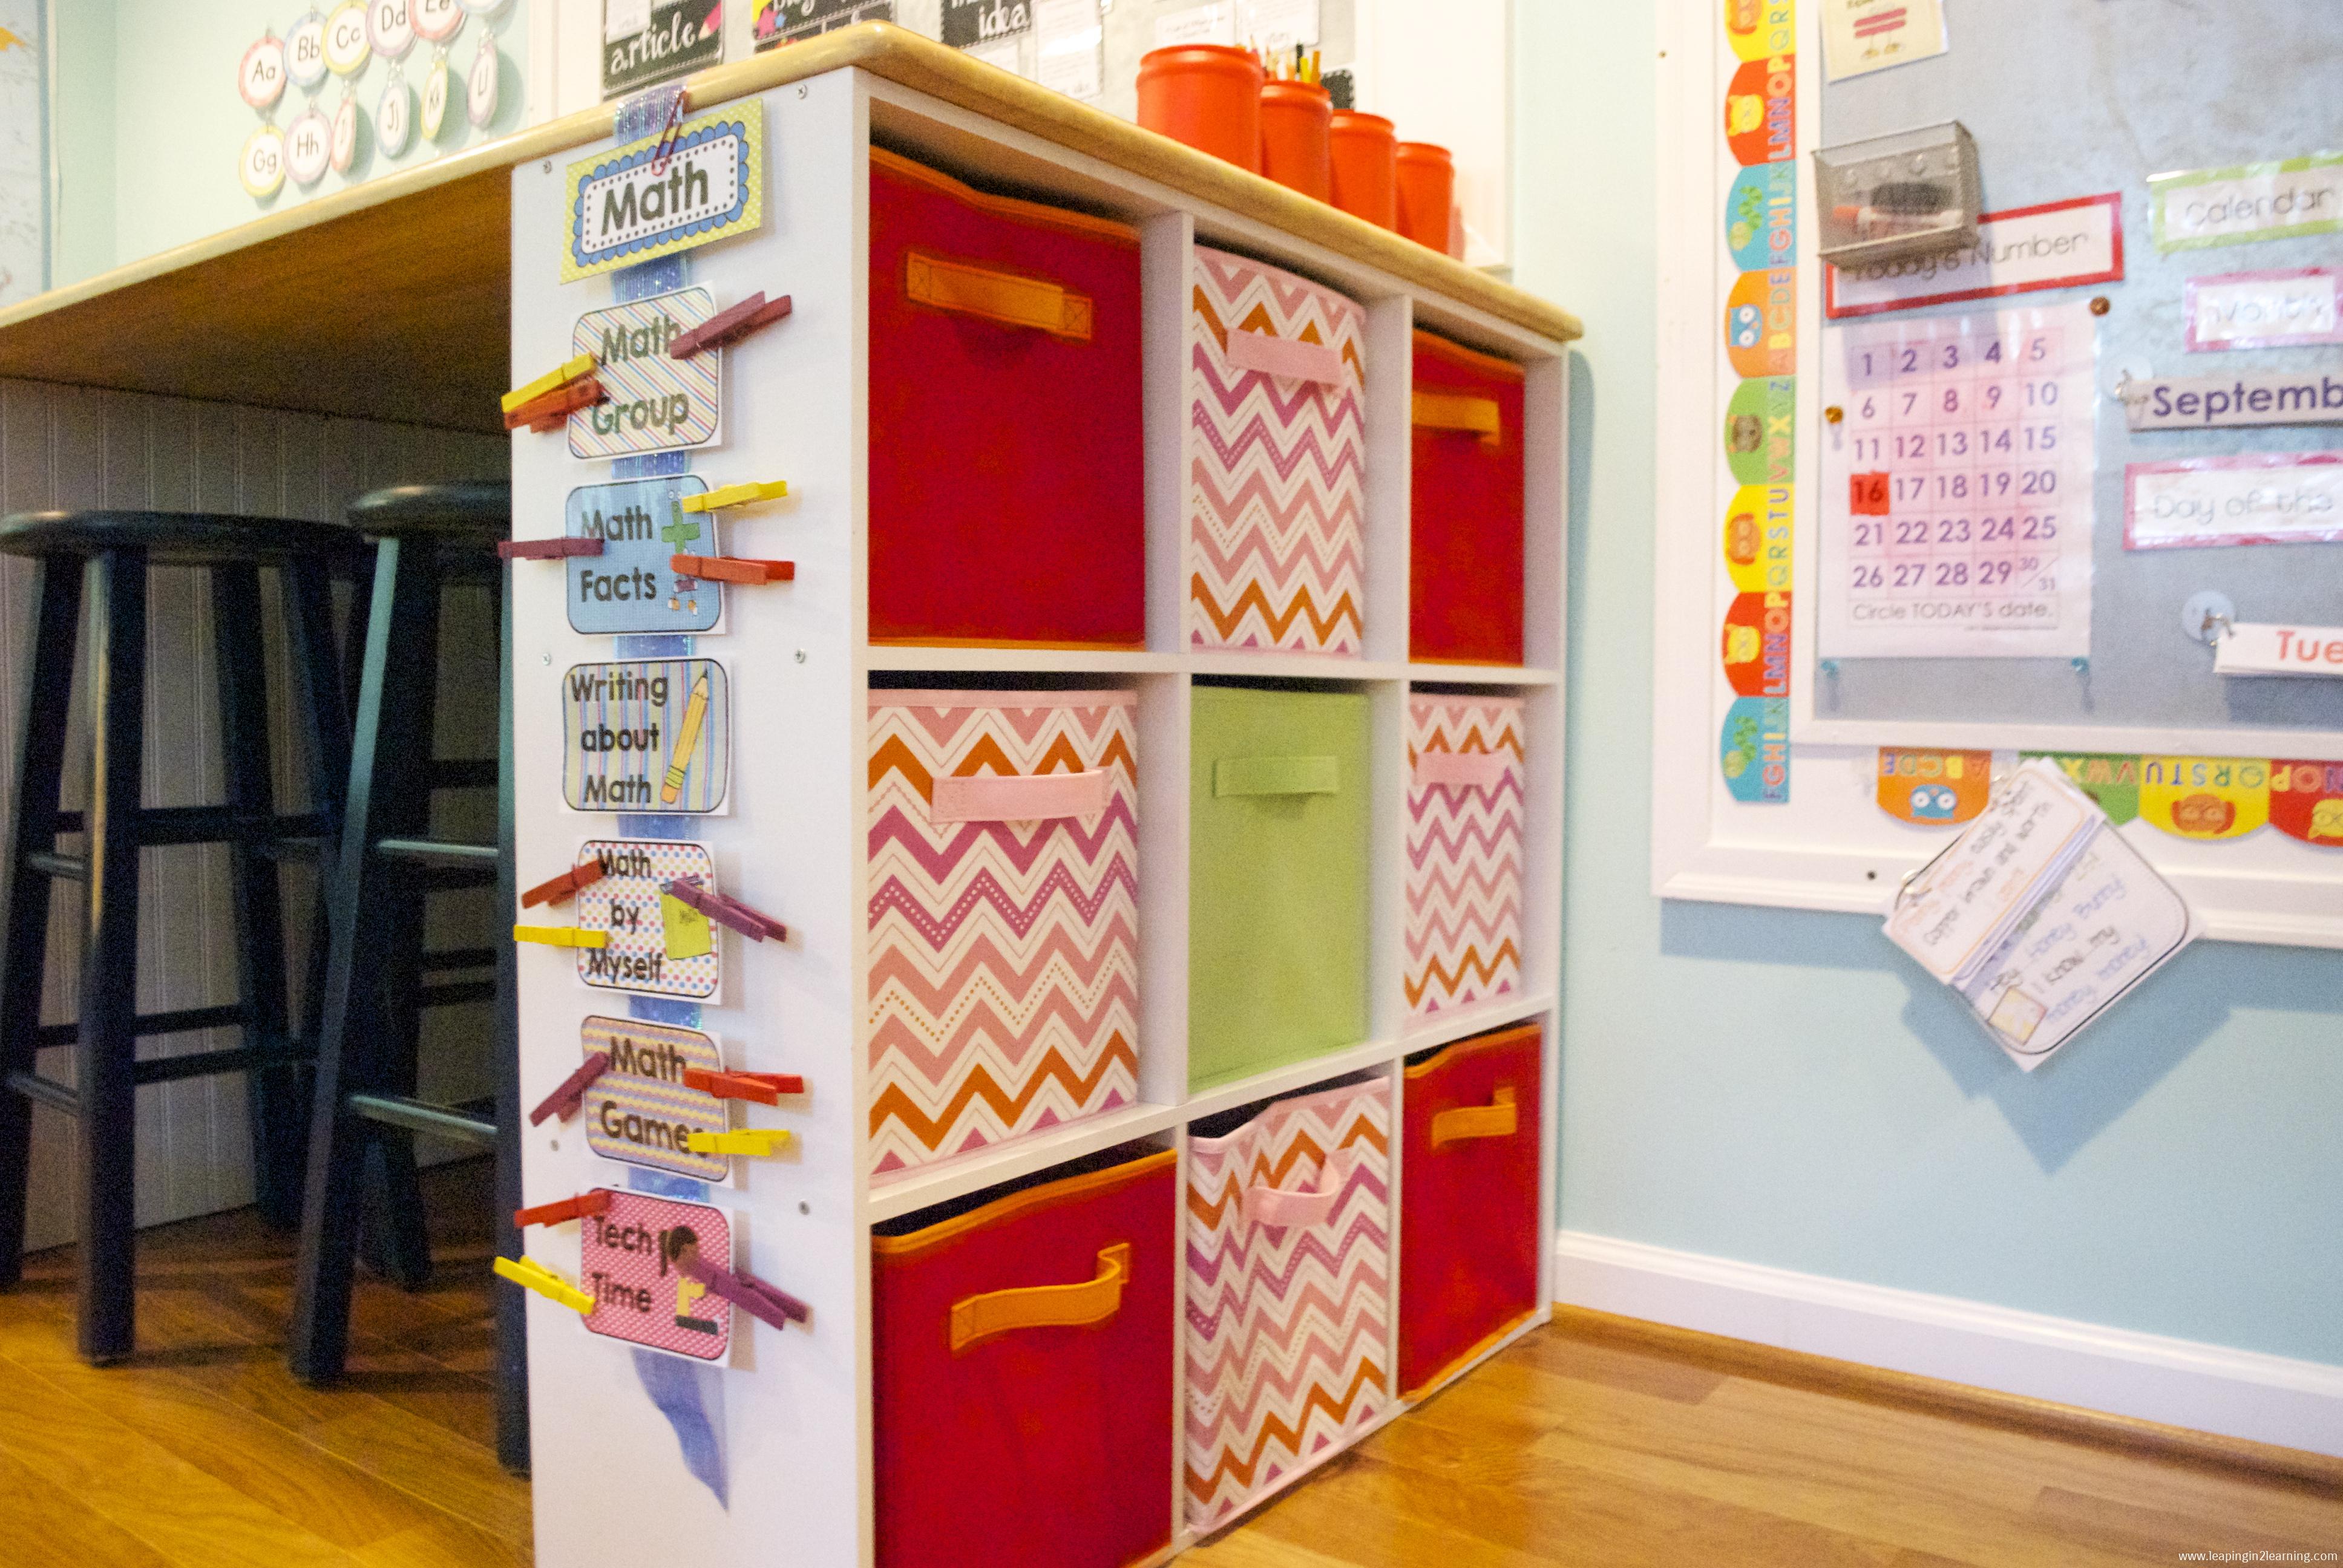
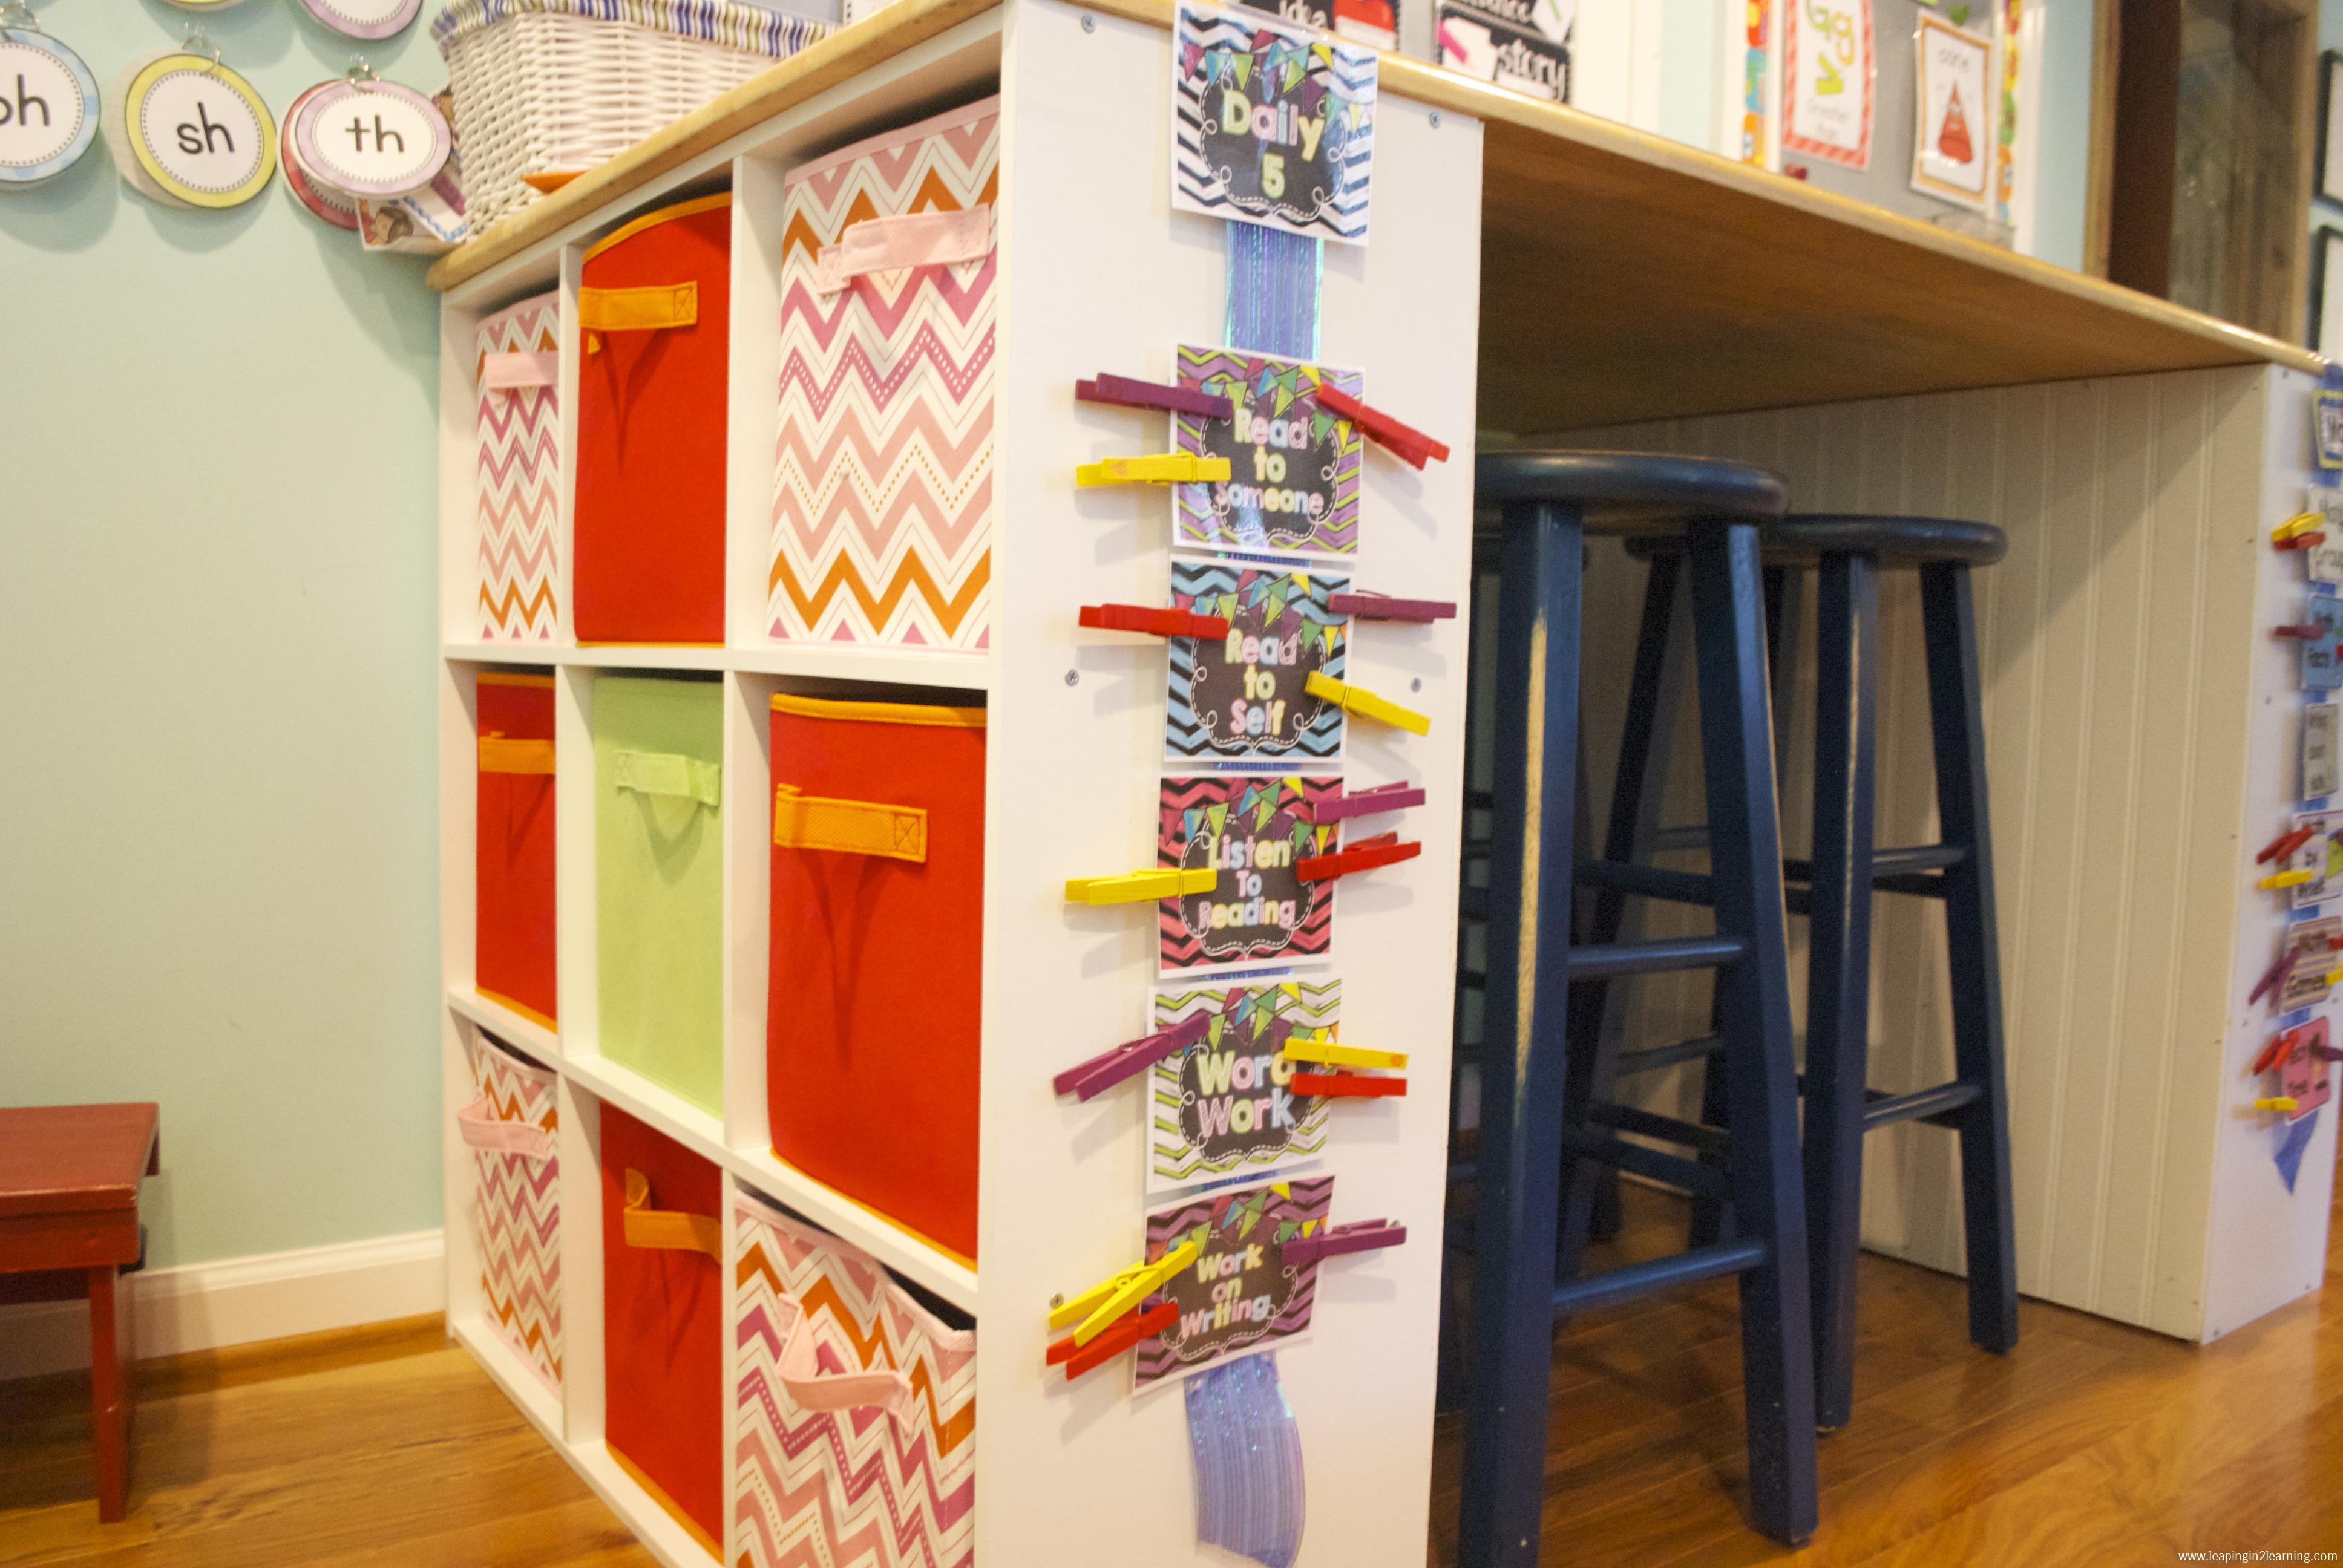
My 10th grader has obviously moved beyond the workbox, so I’ll leave him out of this topic. I have used and continue to use workboxes with my elementary students as well as my preschool student. I don’t have a huge budget, which I’m sure is the case for 99.99999% of teachers everywhere. I needed a way to have a work surface and workbox storage for my then 2nd graders. I turned to Pinterest of course. I used Cubeicals from Tar-Get and a table top purchased from a secondhand store to make a large work surface with space for 18 Cubes underneath. The green bin on each side is mine, and I use it to store things for the following week.

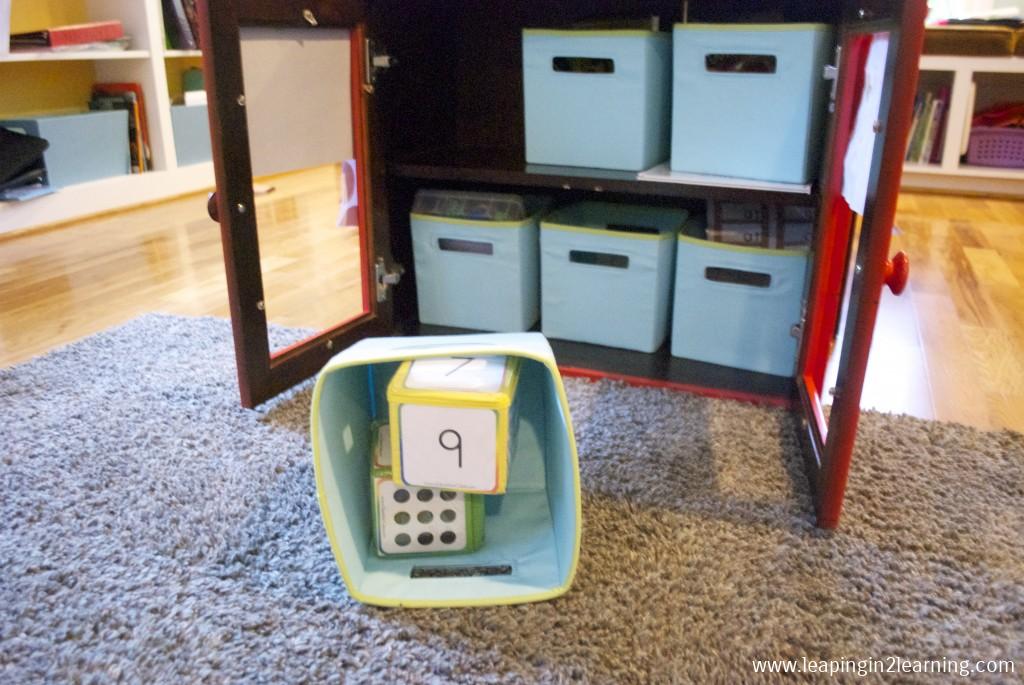
For my preschooler, I repurposed an old shoe cabinet (cleaned up of course) and some cloth bins that used to be in my closet!

DSC_3139

DSC_3140

My 3rd graders have two sets of workboxes: one for ELA and the other for Math. They also have color-coded boxes, so they know where to go for their things and where to return those things. Often, they have similar or the same items but not always. In this way, I can differentiate as needed when I place new items in their workboxes before the start of each week.

DSC_3143

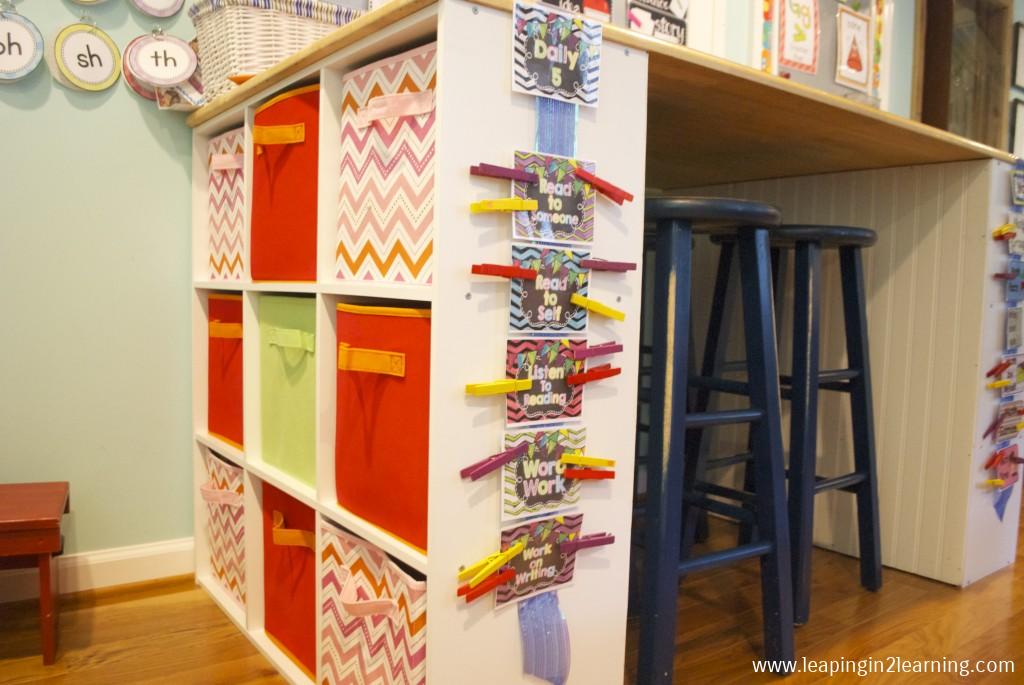
 I use two resources available for FREE on TpT to help them move through their boxes each day: Math Rotation labels and Daily ELA labels. I printed both 3 to a page to fit my space and I use painted clothespins, which correspond to each student by color, for managing the available choices each day.

3. Use common resources with specific additions that meet individual learning goals.


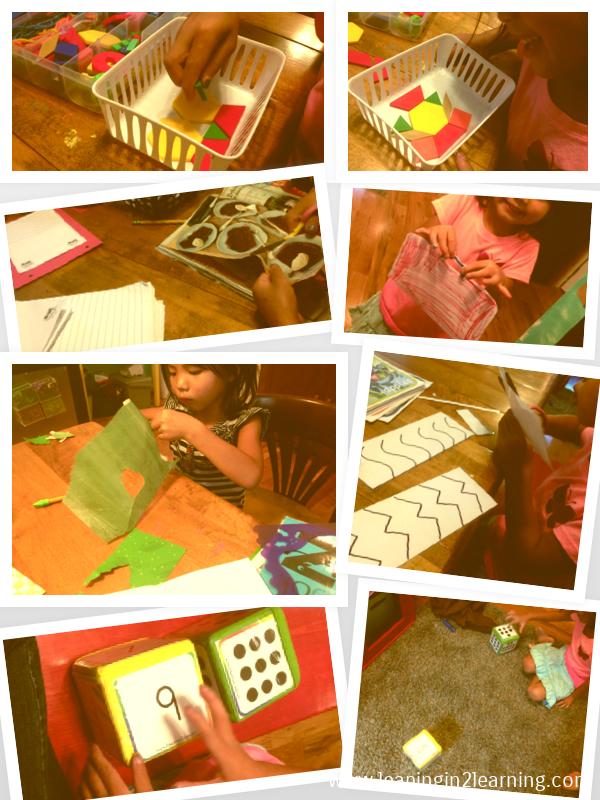
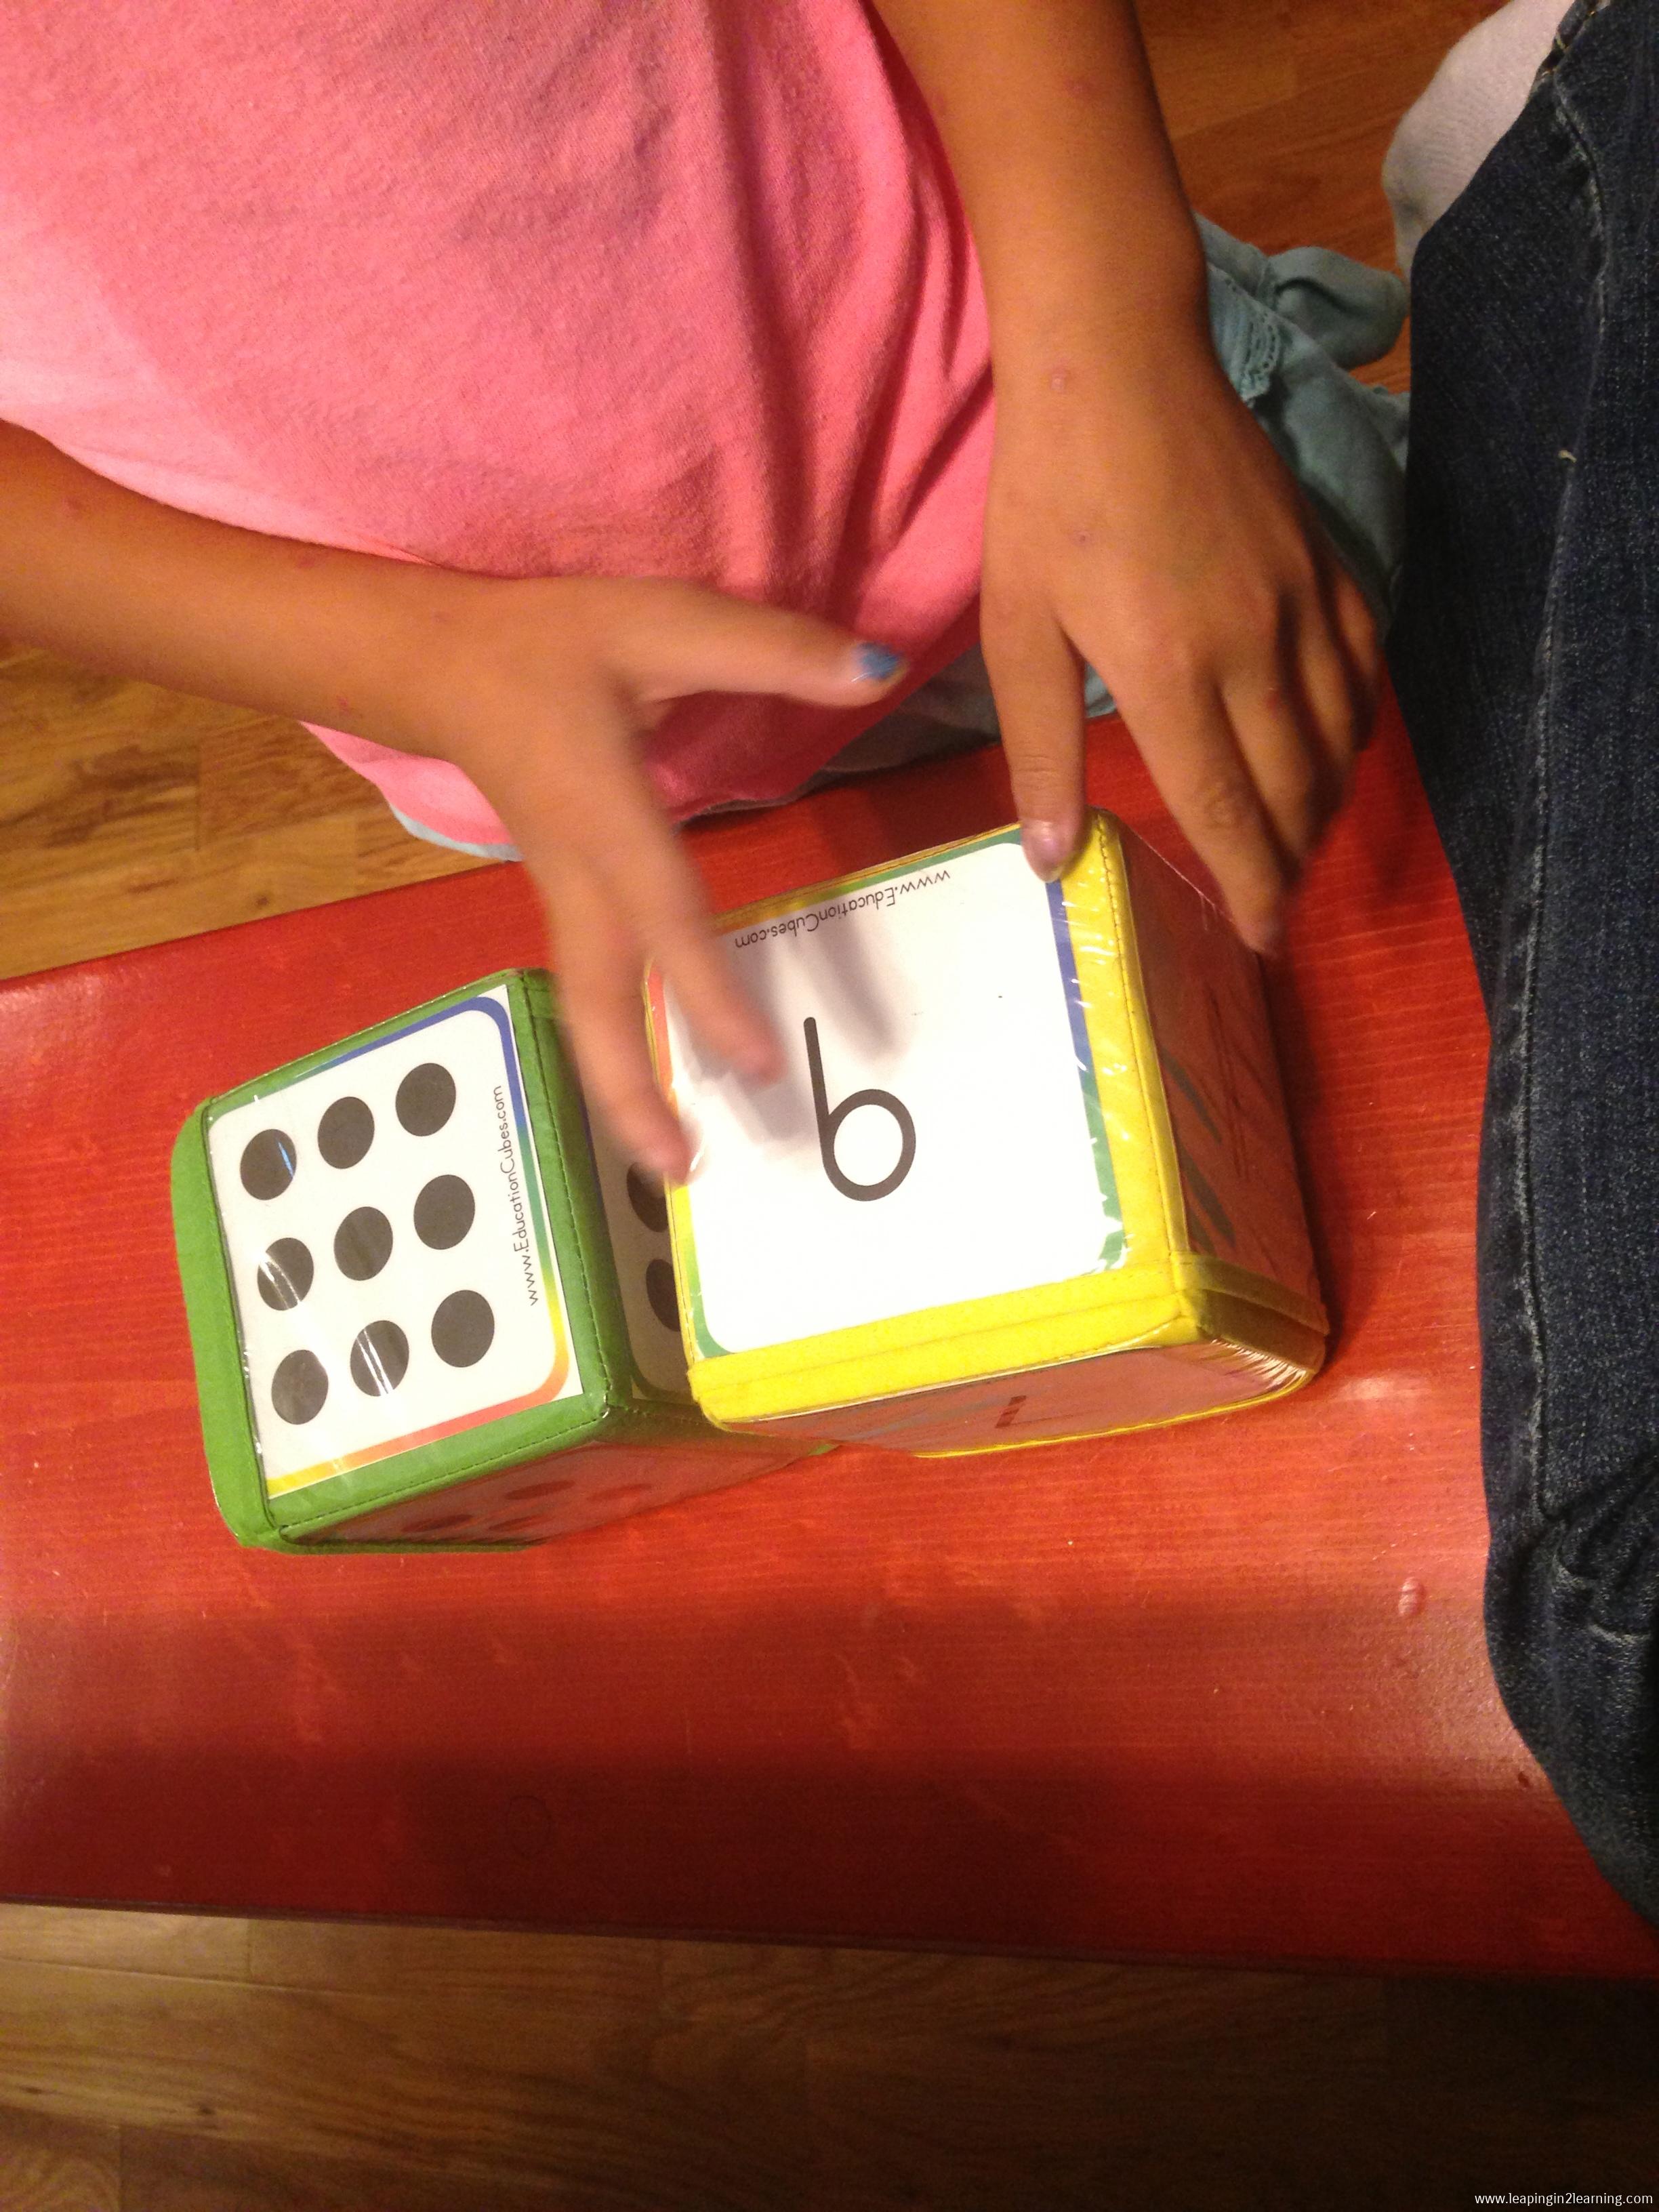
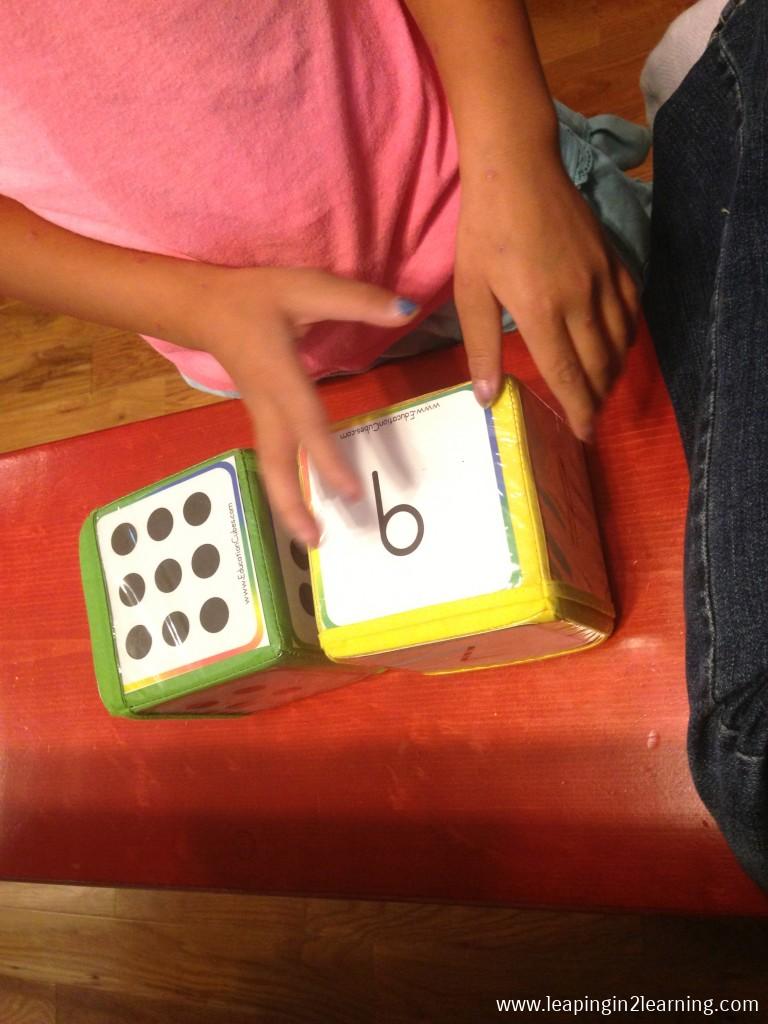
You may be scratching your head here. Let me give three examples. I have these photo blocks that I purchased along with a membership to access cards to fit them. The cards range from preschool level to upper elementary, so on any given week I can pull out these blocks to include in our workboxes. Then I just add cards accordingly for my preschooler and my 3rd graders.

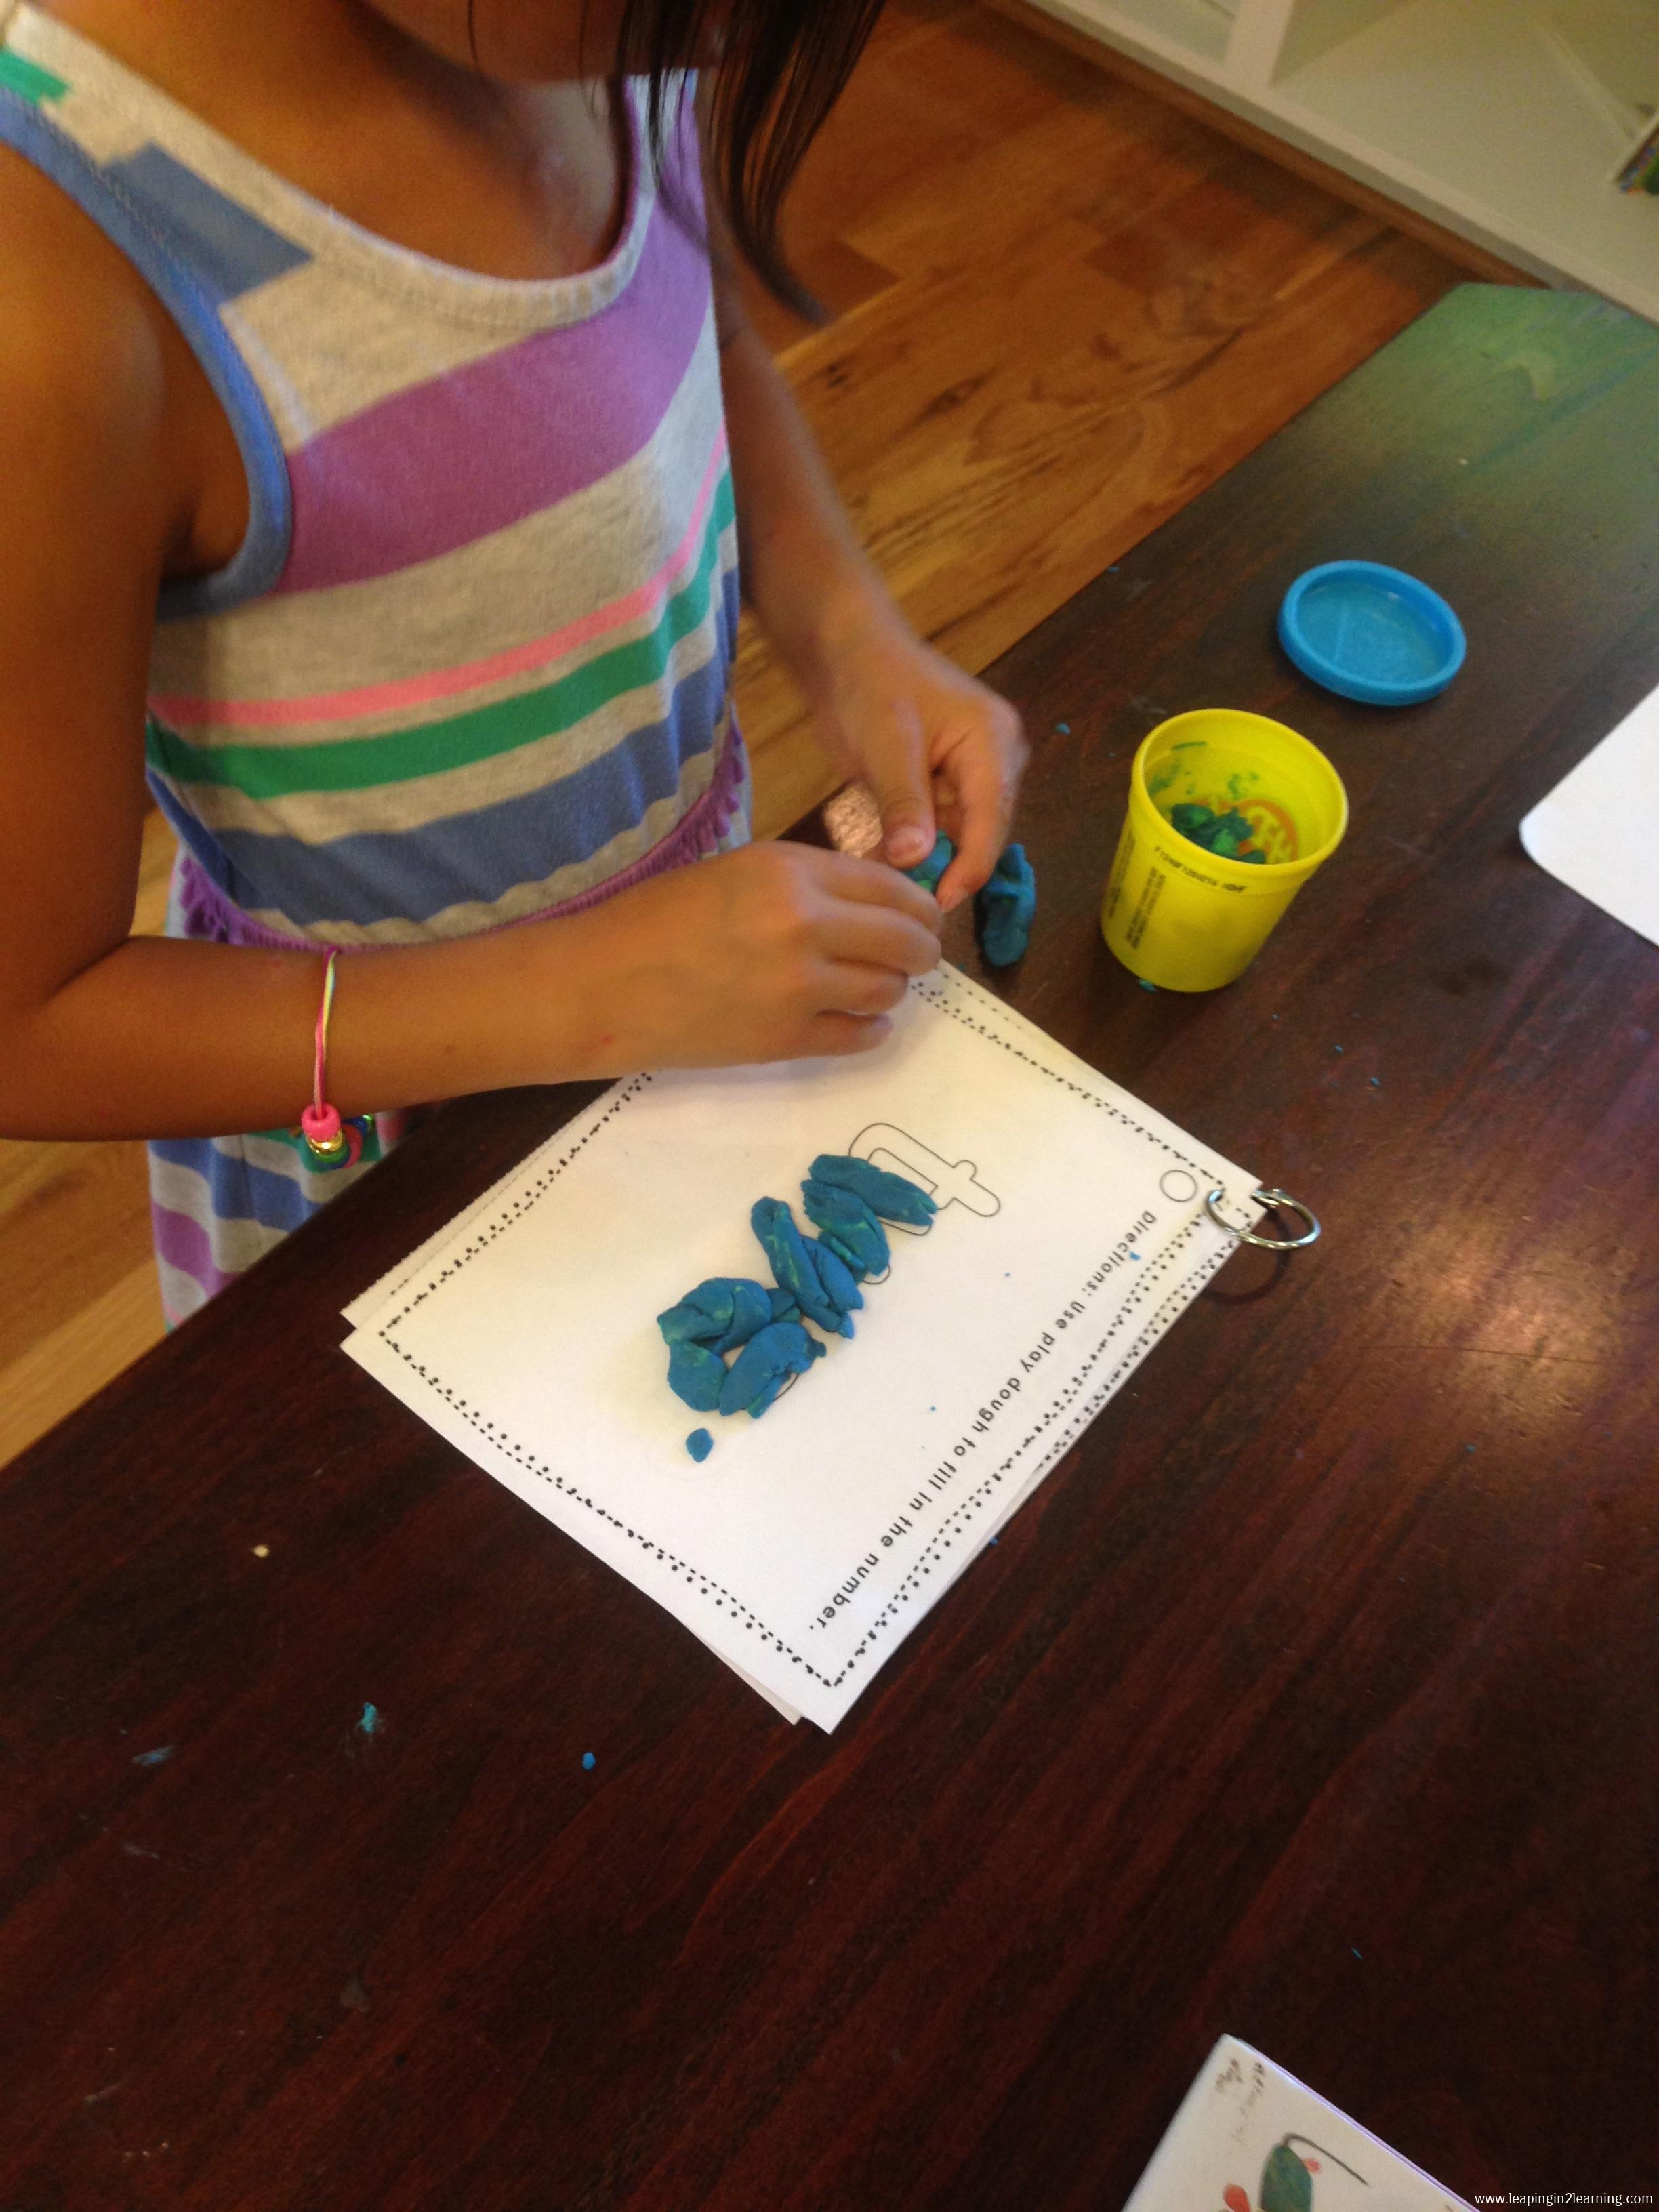
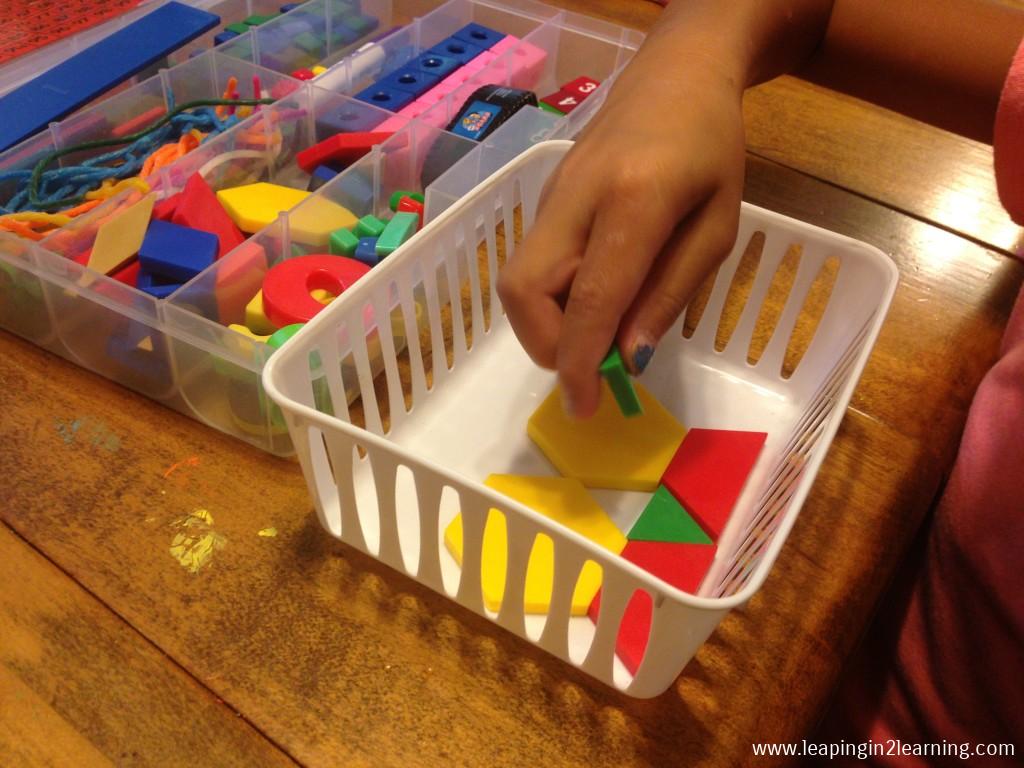
In the photo below, my Pre-Kindergartner is working on one-to-one correspondence.

IMG_2538

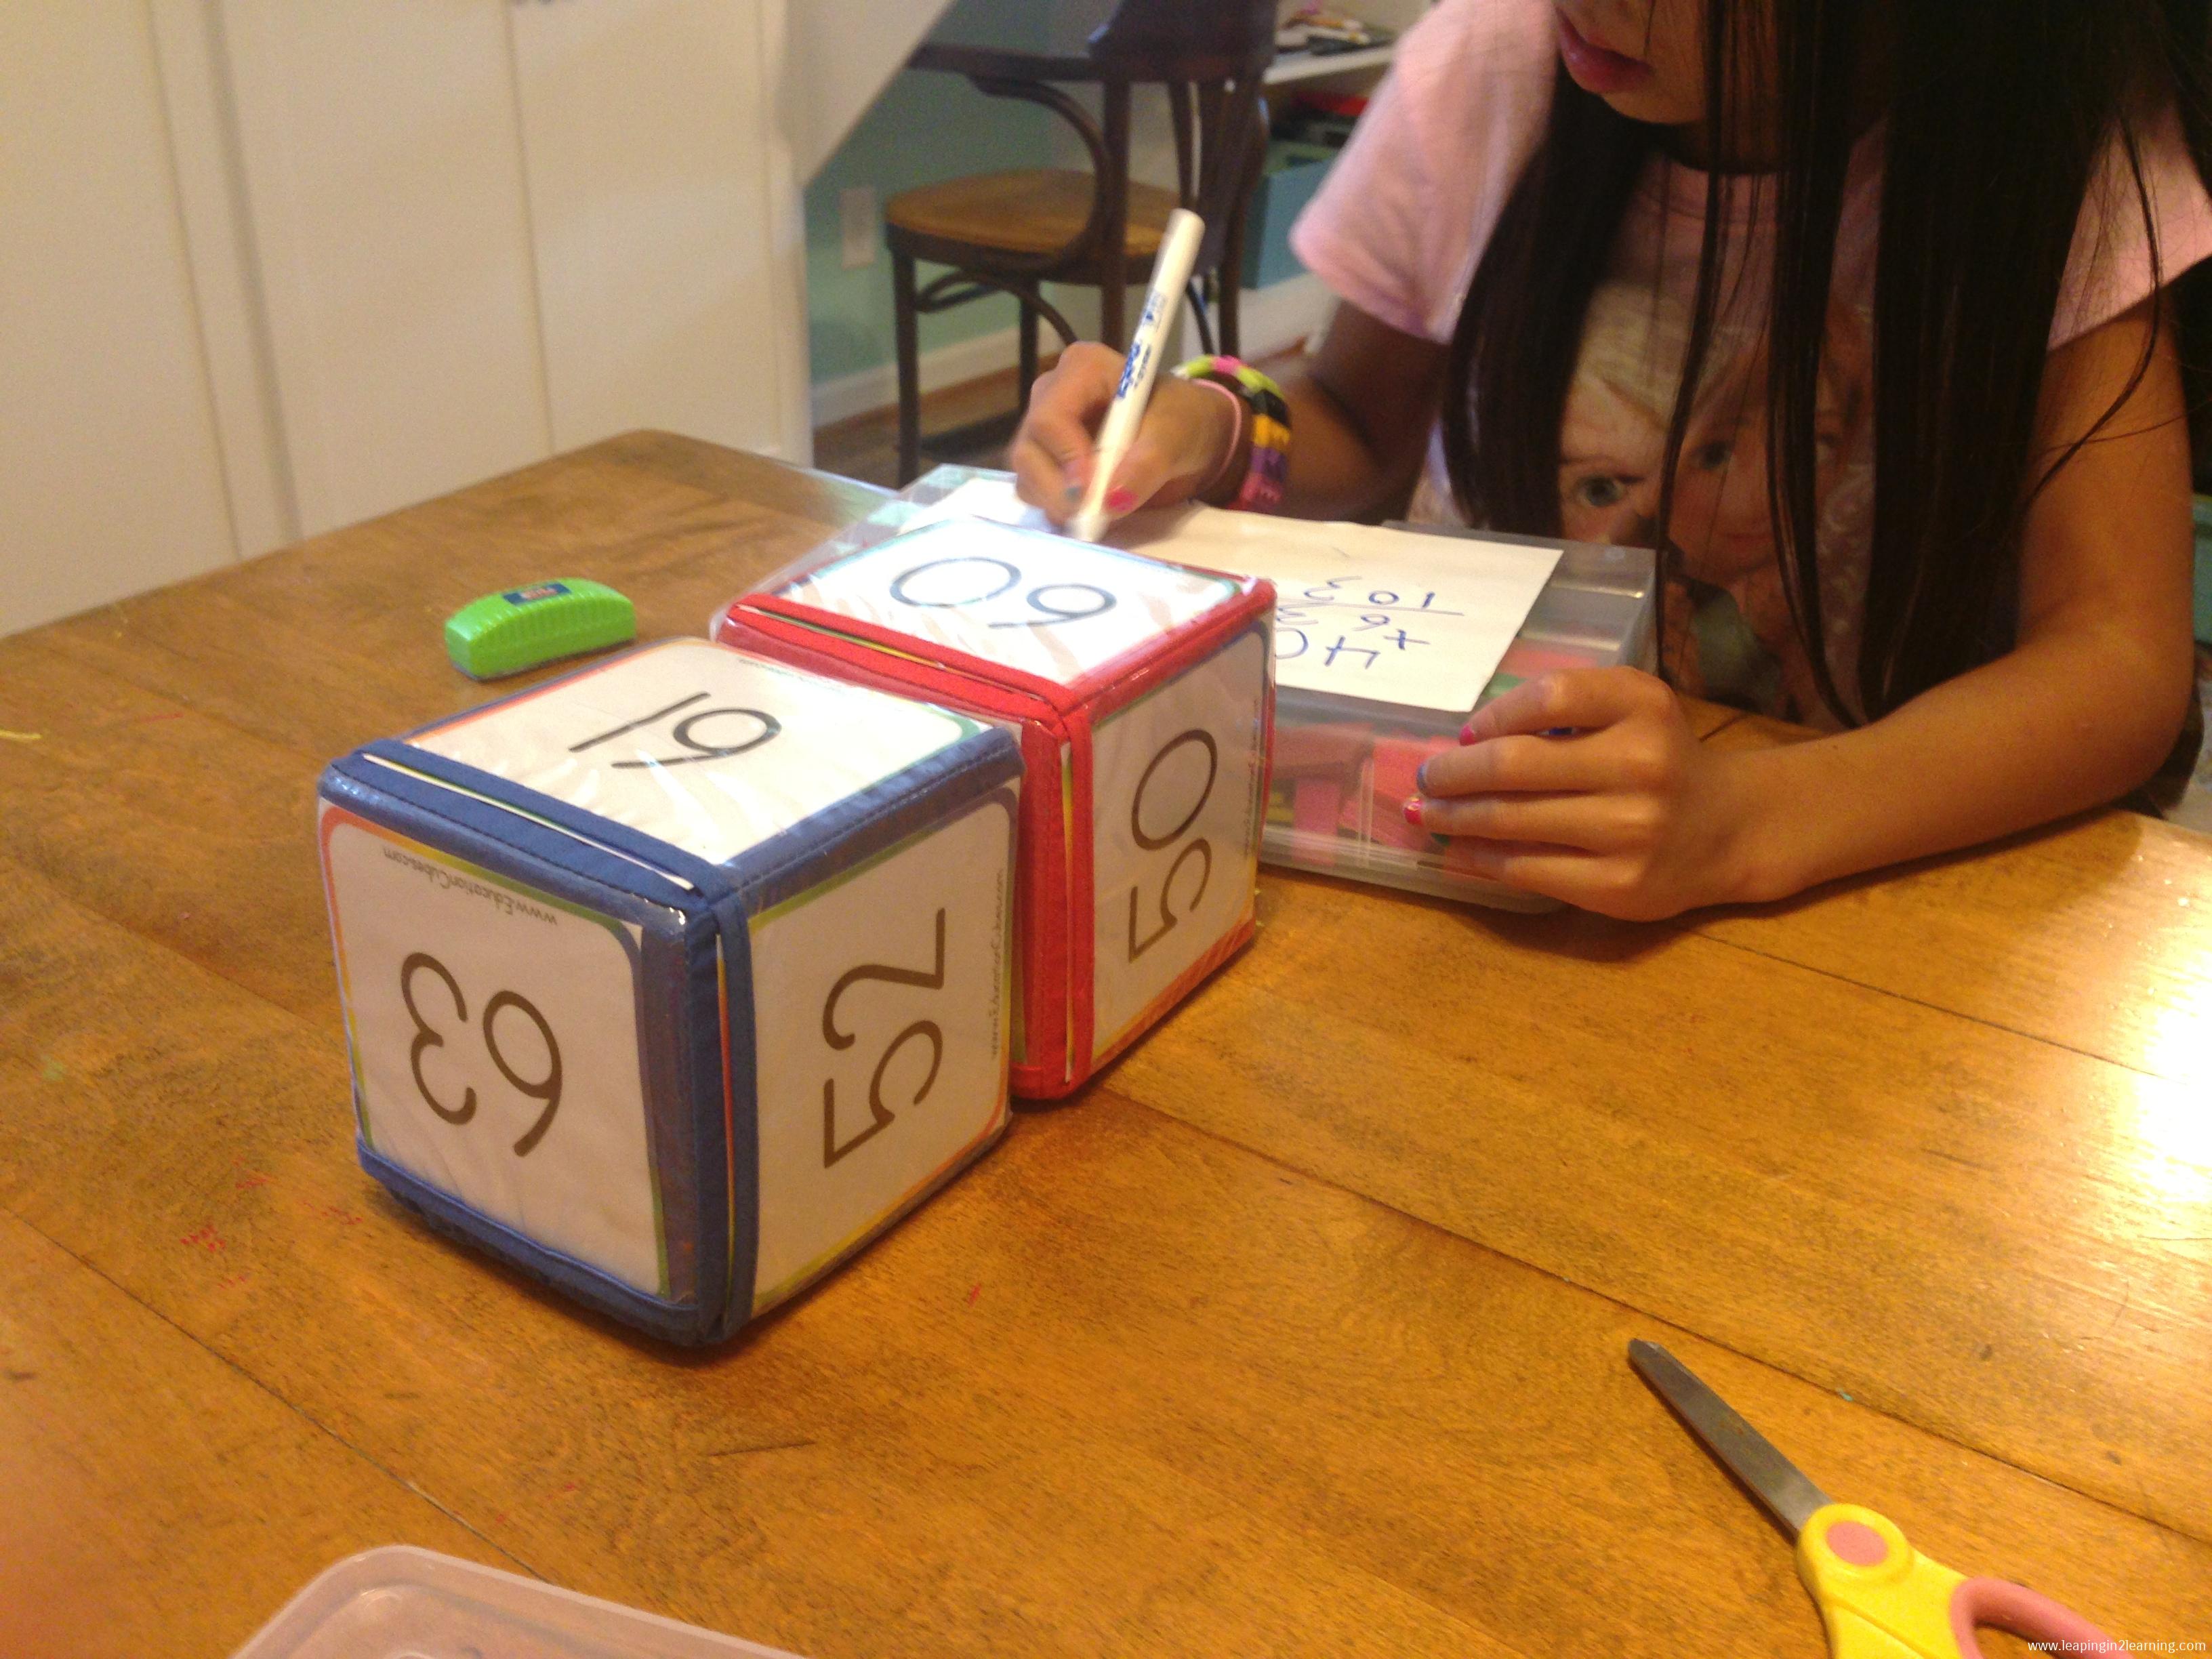
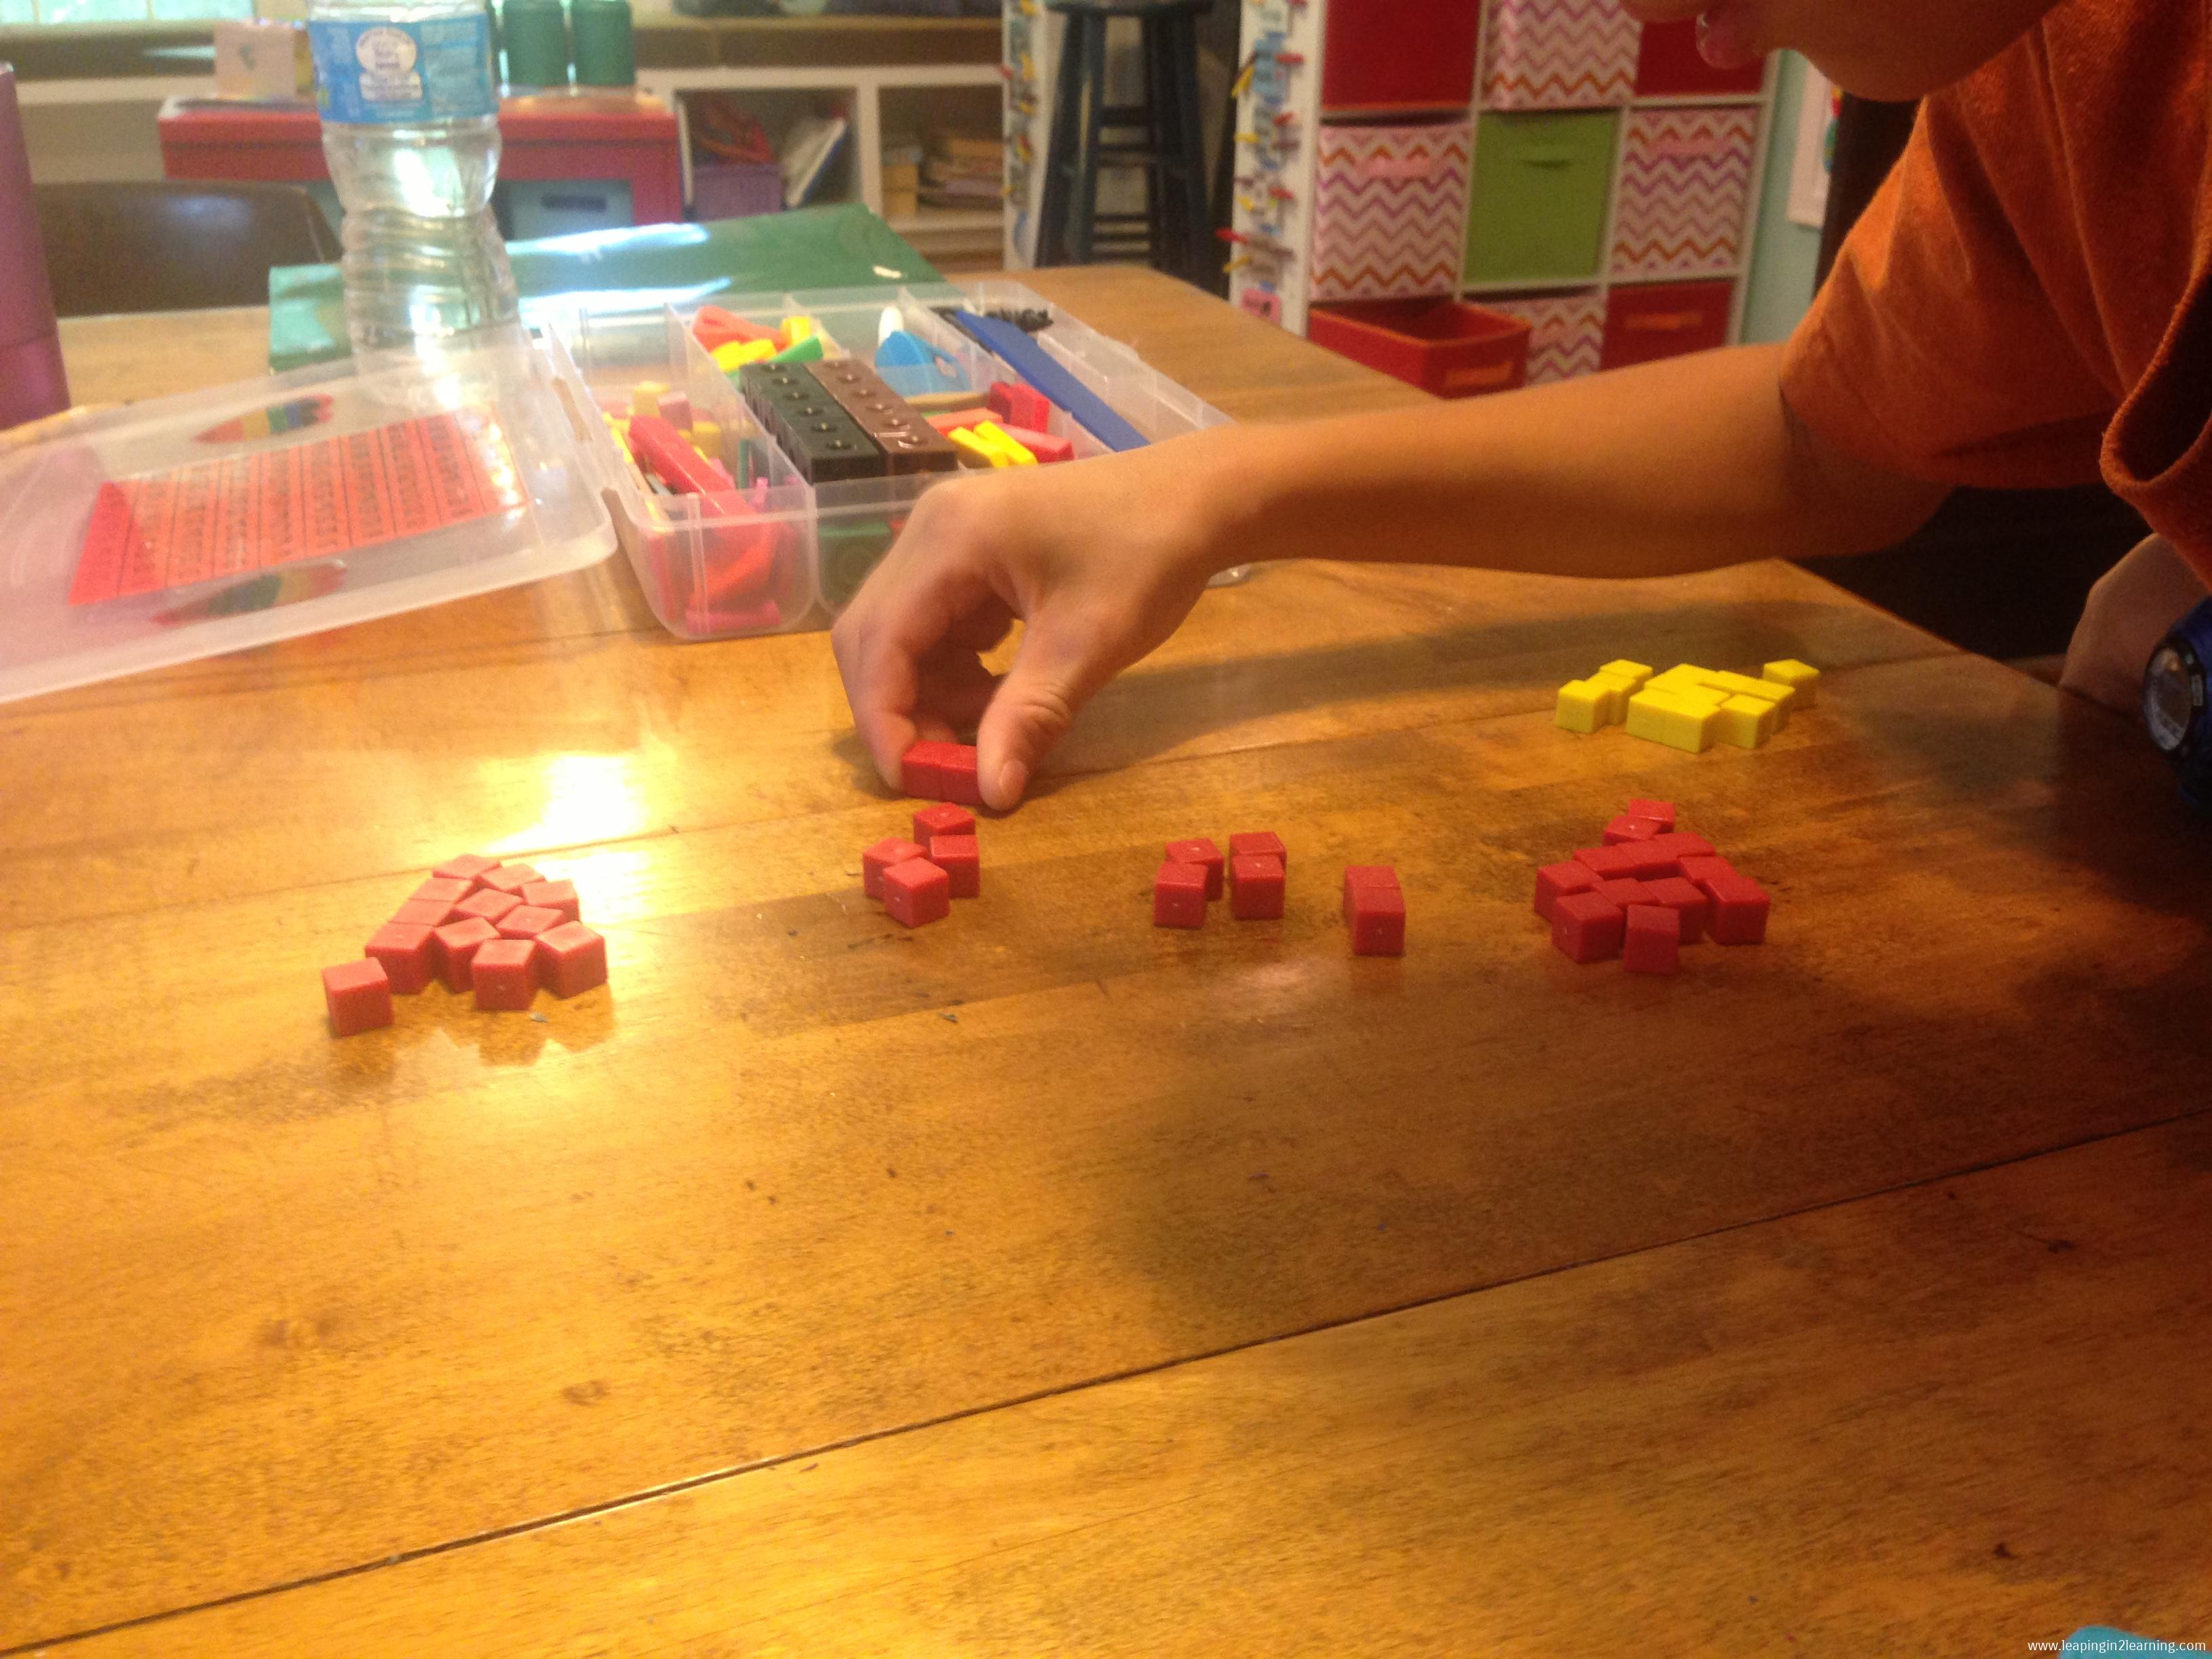
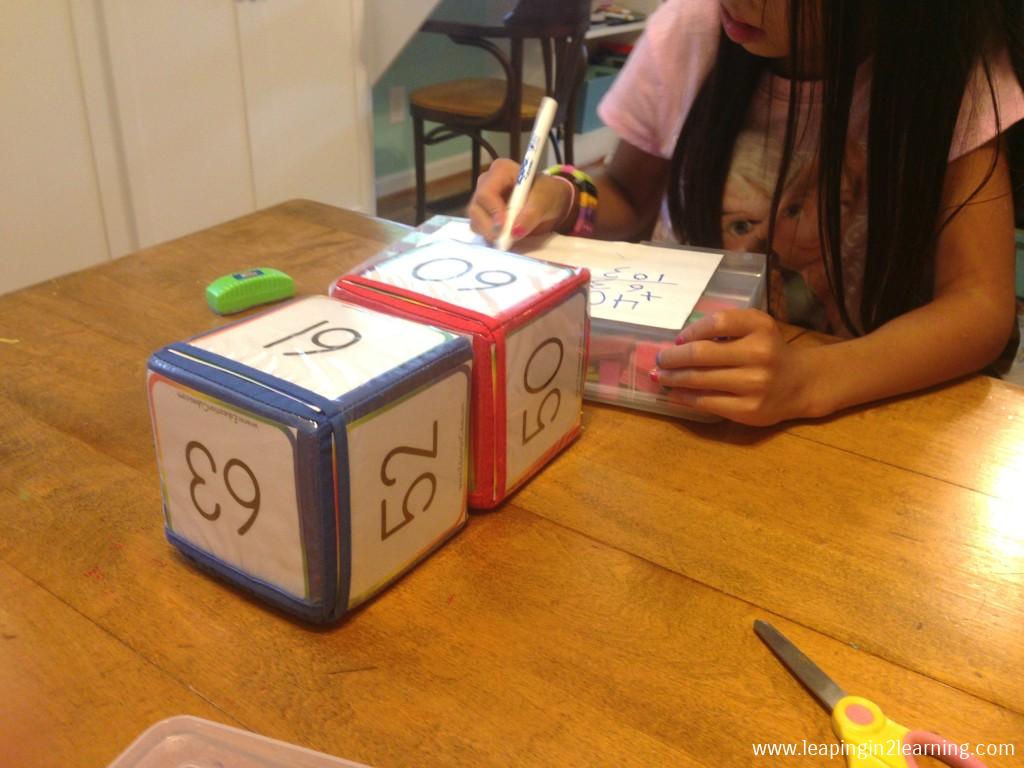
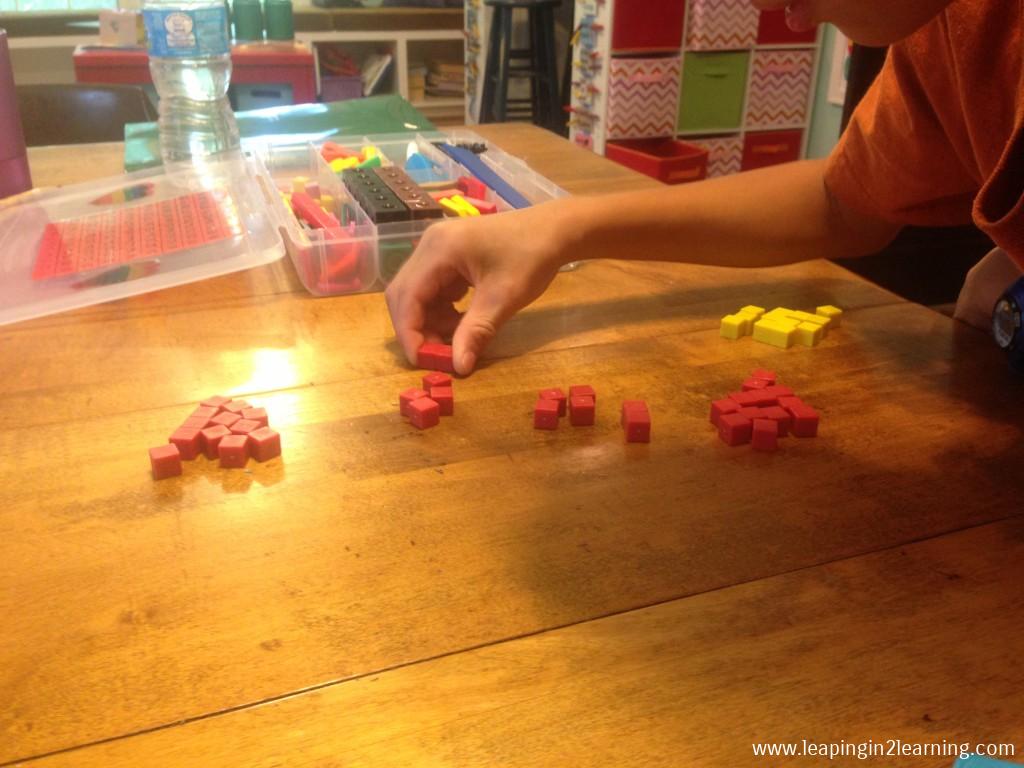
 My 3rd graders were working on adding three or more two-digit numbers. If you need an active math center, this might be a good option! The blocks are active but they are QUIET. Each of these activities were included in their work boxes and were clipped with Math Games on our Math Rotations board.

IMG_2540

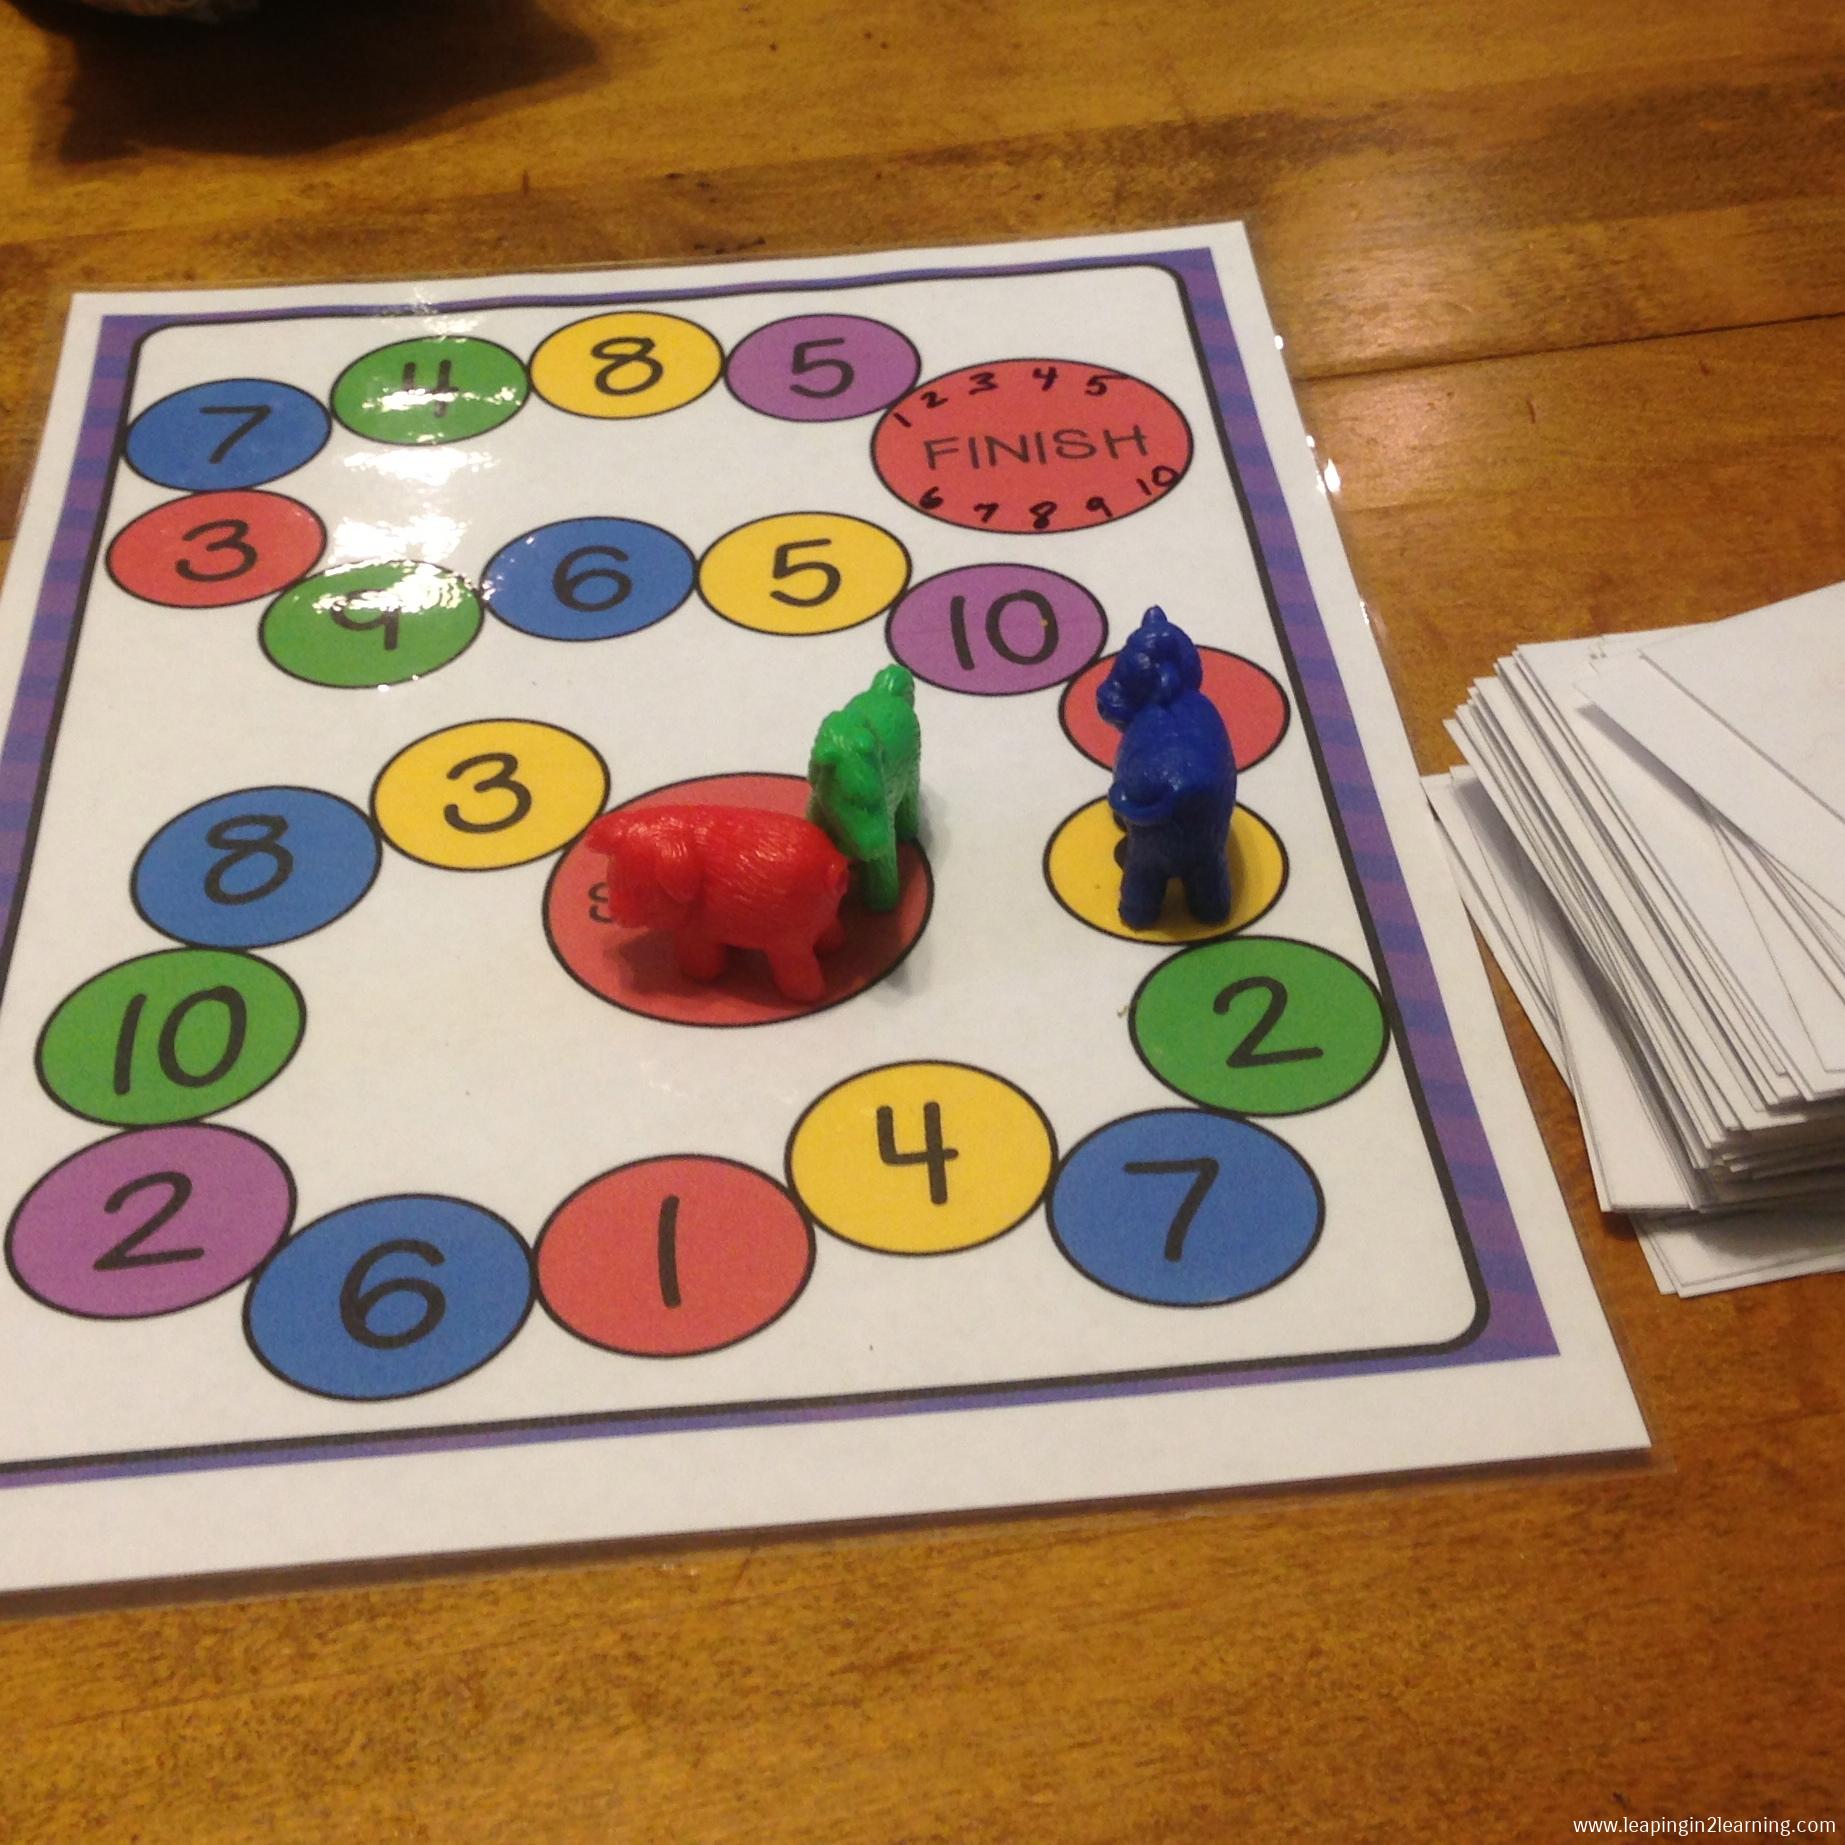
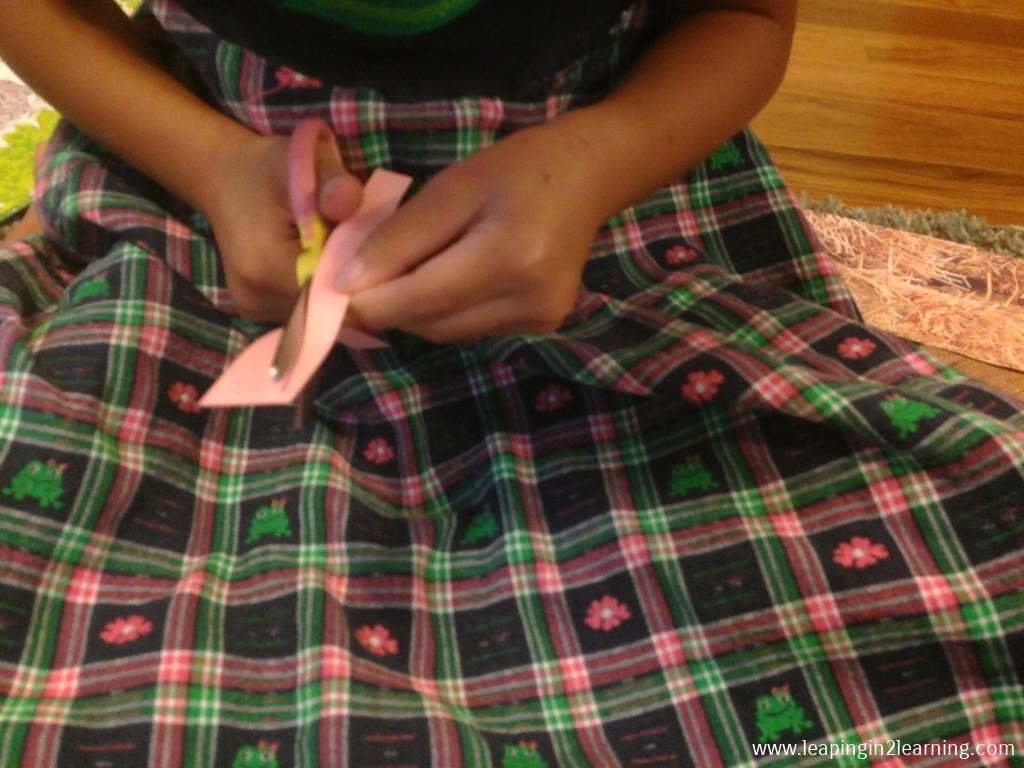
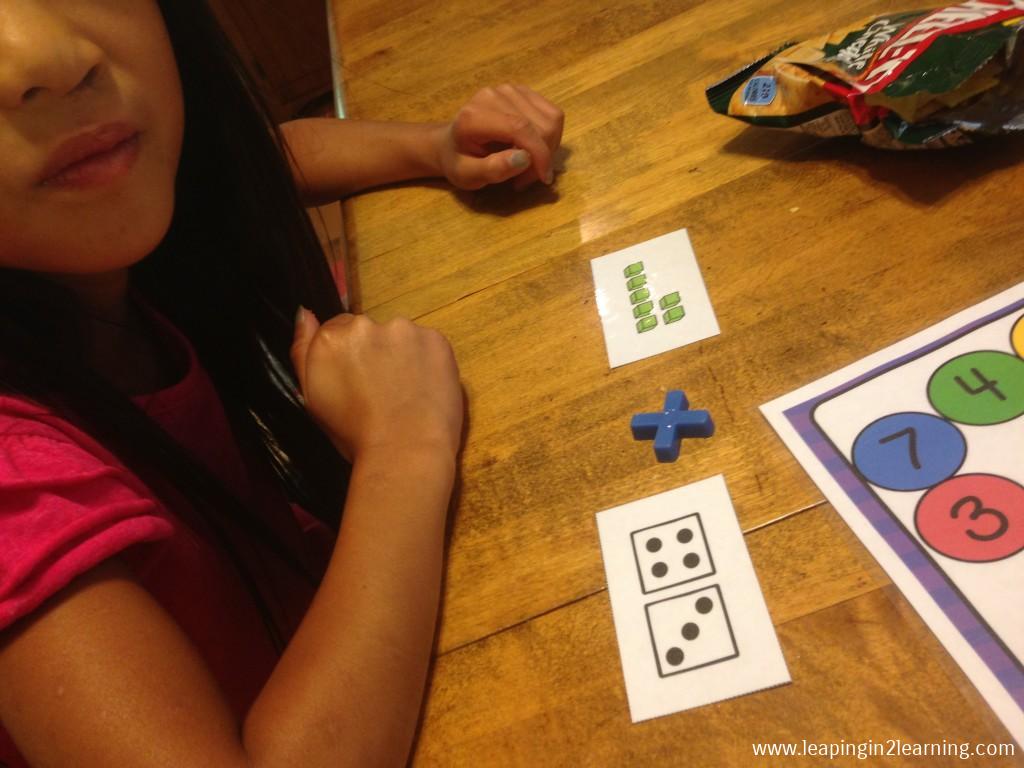
 I created this game for my preschooler to work on number recognition and counting, however when trying to work with multiple students of different ages and abilities I have found simple games such as this can absolutely be used with a bit of differentiation among players.

IMG_2422

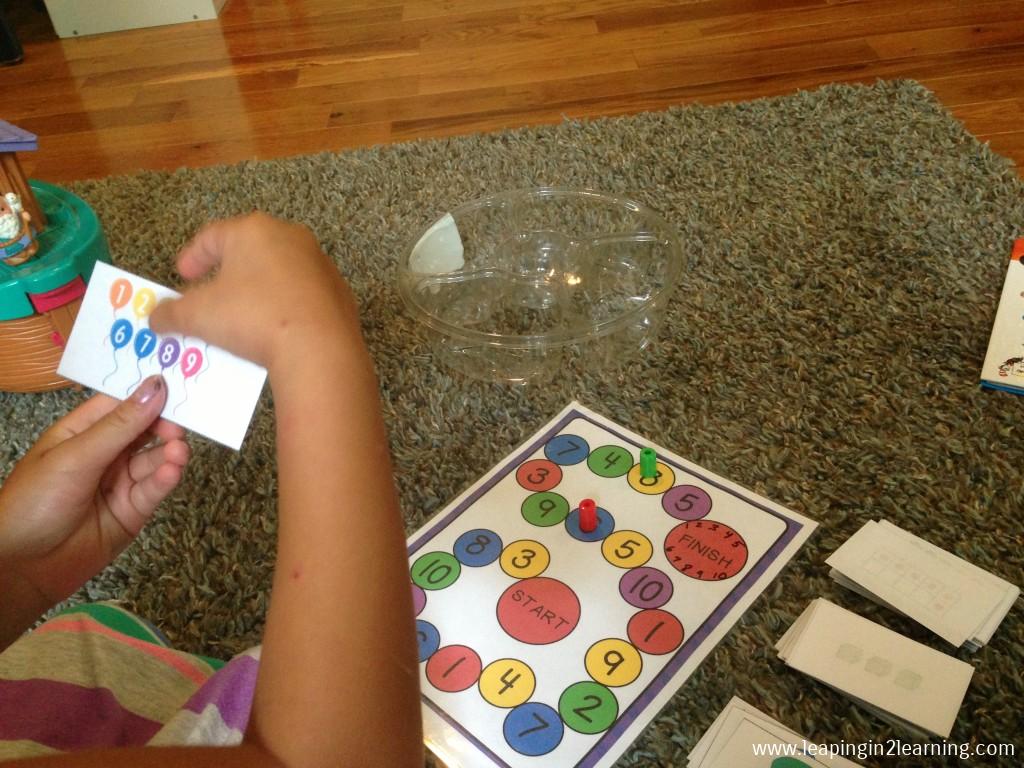
While my Pre-Kindergartener was just naming her numbers and finding that same number on the board to which to move, my 3rd grades were working on multiplication facts! They would draw two cards while she drew just one. She named her number and found that space. They found the product of their two cards and chose one of the numbers to move to on the board. It made learning fun and achievable with these multi-age learners.

IMG_1634

IMG_1636

Finally, I made Math Manipulative boxes for our students this summer. While each box contains the same “ingredients” if you will, my students can use them at their own ability levels and as tools during their independent learning times.

IMG_1907

IMG_2542

If you’d like more specific information about these boxes, you can read about them HERE.


4. Using assistance is key to our success in this unique learning environment.

I will share just two of a few ways I use assistance in our learning adventures: technology and a tutorial. For those in a more traditional classroom, you may be wondering what is a tutorial and what does it have to do with classroom needs. A tutorial is a one-day-a-week (or sometimes two days) program where I drop off our students for a full day of rotating classes with same-age peers and tutors who guide the students in that particular subject. At tutorial, our students are exposed to various teaching styles, to a more traditional classroom environment, and lastly they are accountable to someone other than me.

While classroom teachers aren’t using a tutorial, you may very well be in a setting where you rotate and teach certain subjects. I like having someone to assist me in this teaching adventure, and I hope you have a team approach in your classrooms as well!

IMG_2567

As far as technology, we use the computer and my iPad along with several websites, particularly the following:

• Tumblebooks (this is free to us as we have a library code; perhaps your school or local library has one as well)

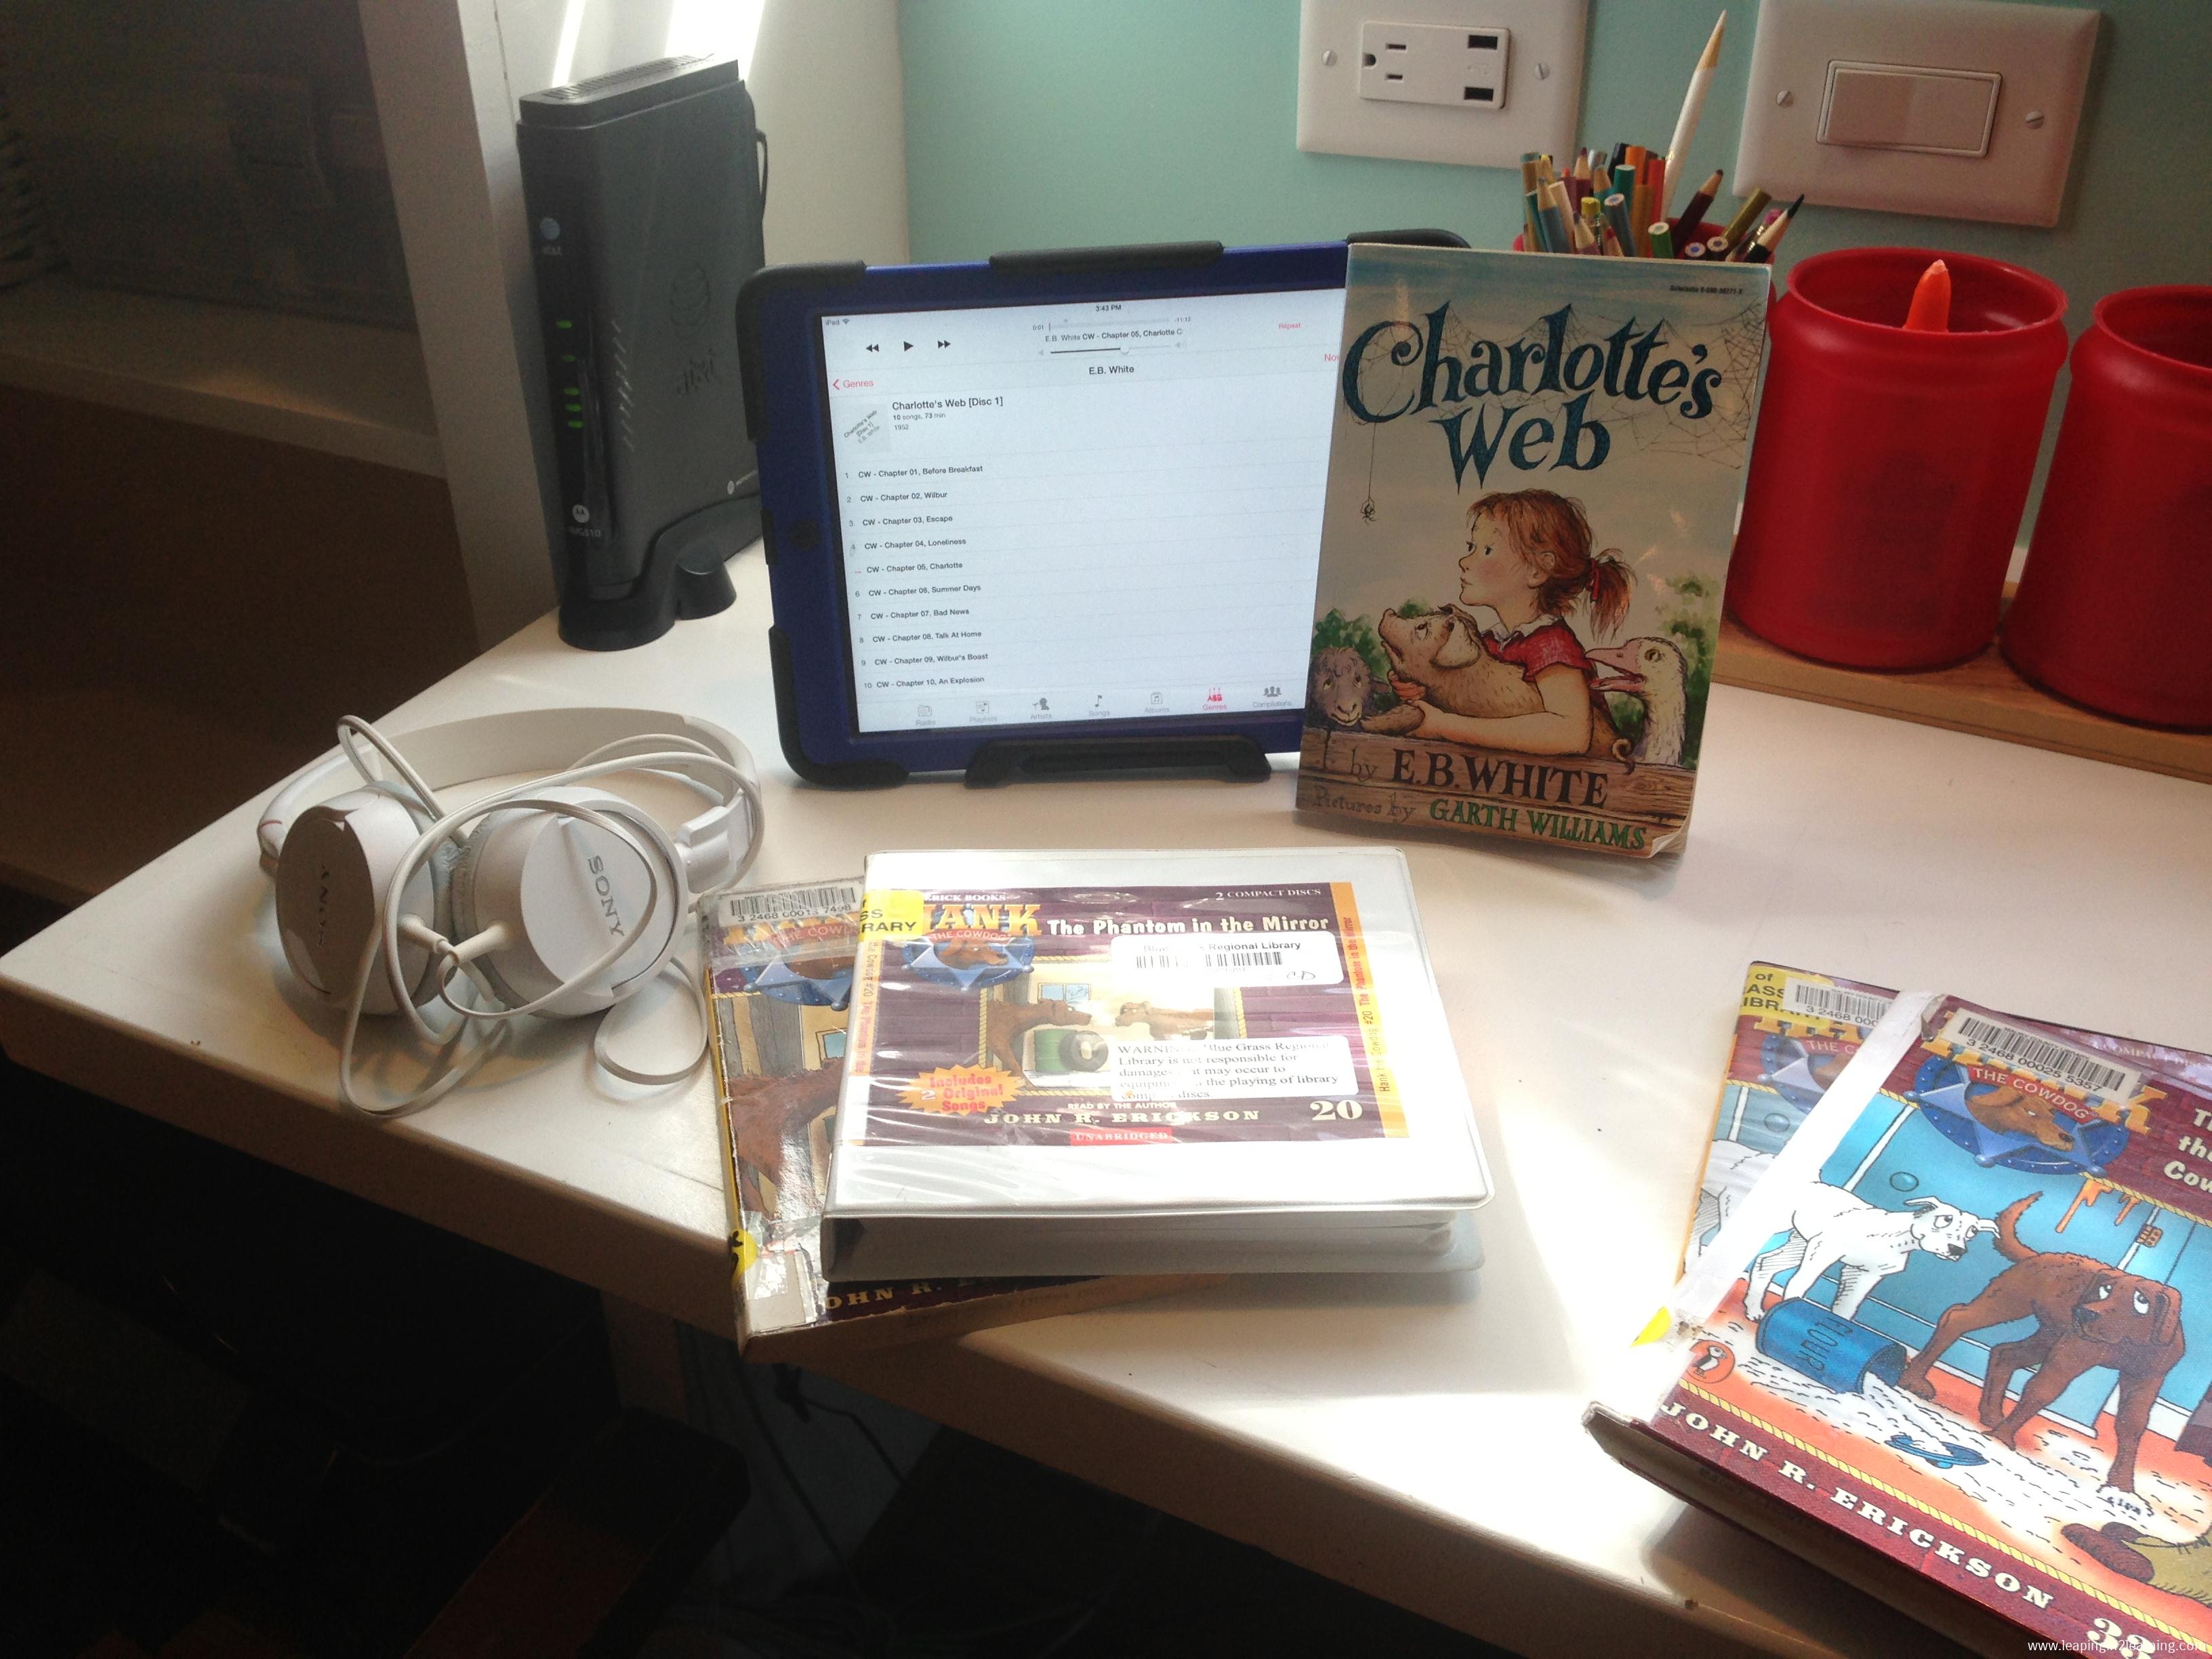
I love that my students can follow along as each book is read. I also love that this site works beautifully on a tablet device! Each book has the appropriate reading level already assigned and they are divided into story books, language learning, chapter books, fiction, and non-fiction.

• IXL Math (and Language Arts)

We use this exclusively for math review and practice. I love that it features individual student accounts and that at any time I can view and/or print a report for each student’s progress. While it is divided by grades, students are allowed to use any grade level or multiple grade levels, which makes differentiation a breeze. Also, the CCSS are included and state standards as well for those who need this information for reporting purposes.

This site isn’t free, but there are no ads and they do offer discounts through various ways such as school licenses and through sites specific to homeschooling like Homeschool Buyer’s Co-op.
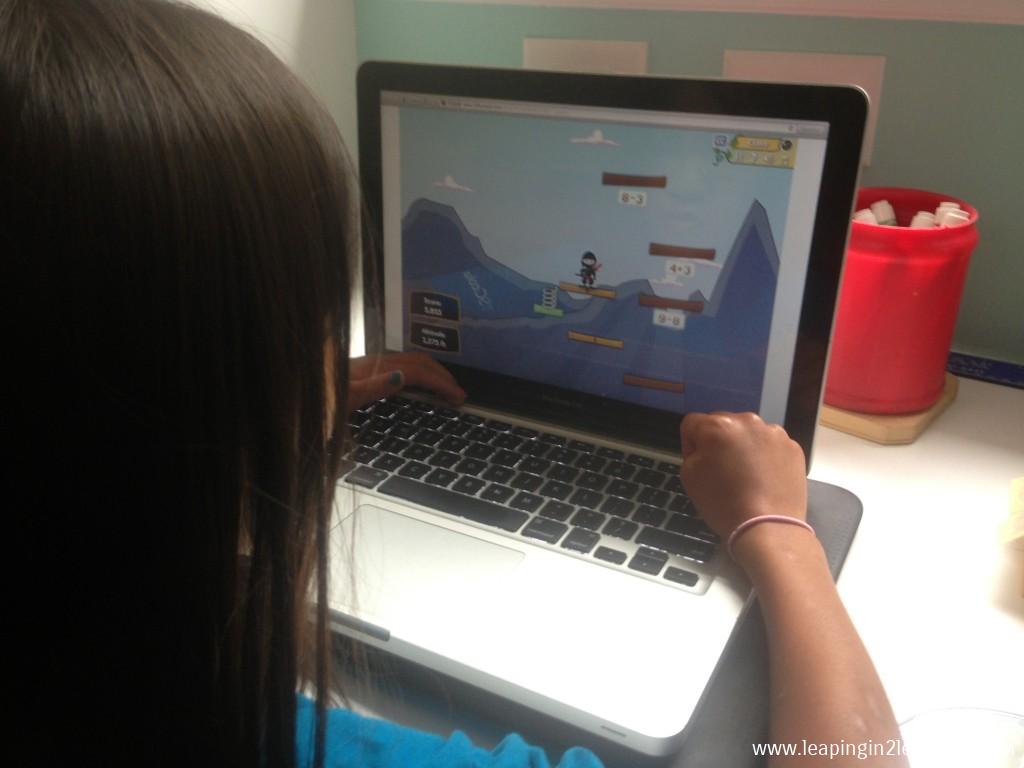
Reflex Math

Again, a paid site but to me it is worth the cost for the absence of ads and the reports it generates in addition to its intuitiveness. Each student works on fact families at their own pace in addition, subtraction, multiplication and/or division.

Both IXL and Reflext Math have a built-in rewards system, which can be extra motivation for reluctant learners or those with a competitive spirit!

In addition to these sites, we use the computer for keyboarding practice and writing through typing. Even my youngest learner can find her way around the iPad. One other tip I’ll add: each of my students has their own set of headphones that are comfy and make it possible for them to use these devices anywhere in our library without disturbing students around them. I also set up a blog where my students can access free choice websites during independent tech time. You can find it here.

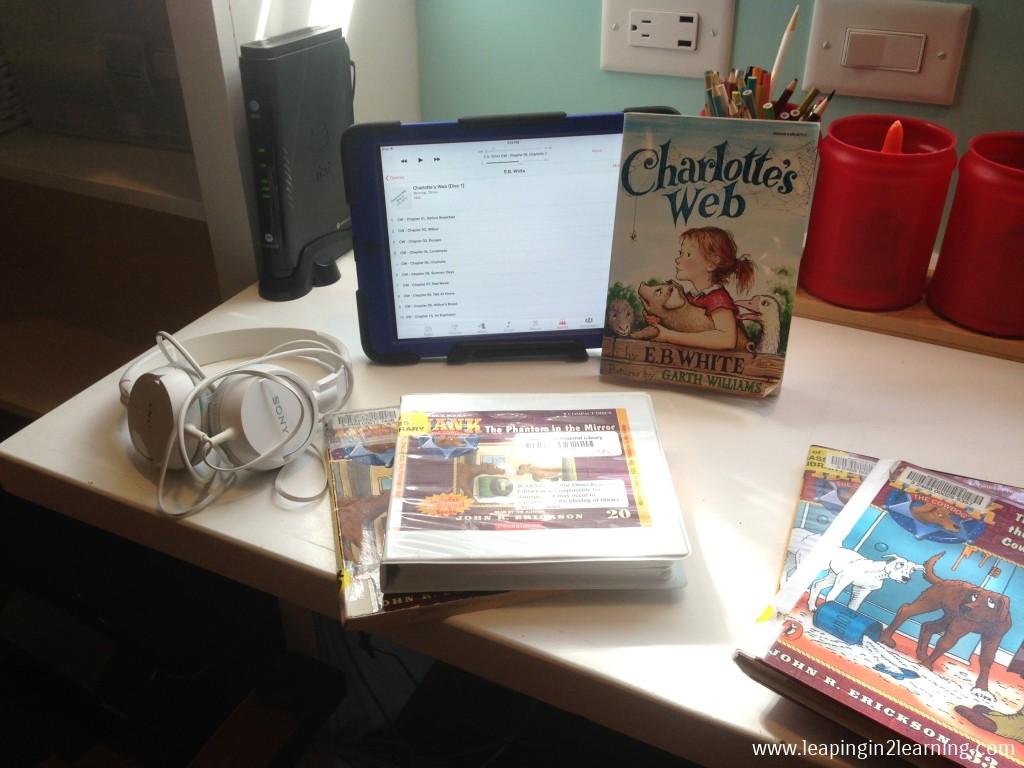
One last piece of advice: don’t underestimate the resources available for FREE from your local library! If you have a listening center in your classroom, you may be missing out if you aren’t checking out the wide range of audiobooks available at your local library. These work well on tablets and/or your desktop computers, and your students will be polishing up those reading skills if you also pair them with the actual book for them to follow along!

IMG_2212

While you are working one-one-one with a student or small group of students, other students can be working independently on a device or computer with many options for ELA or math or a combination of both!

I hope you have found some helpful information in this article that perhaps you can use in your own classroom among your students. With just a bit of creativity and stretching, we can teach children of different abilities in one room, and in the process our students learn that all of us have something to offer and we can all learn from one another!

signature

PreK with Li’l Bit {Week 4}

GLE.LetterZ

After a short week during Labor Day Week, we jumped back into our God’s Little Explorers preschool learning about the Letter Z using the Bible story of Noah and his ark full of animals, many of which are also found at zoos today.

Li’l Bit’s favorite activity of the whole week was making her very own salt try for practicing writing and exercising those little finger muscles with a tactile activity! First, she painted a rainbow on a piece of cardboard. I didn’t tell her what order to put the colors, so I was impressed that she followed the ROYGBIV color order! Of course, we reviewed color names. She knows them all except she gets pink and purple mixed up sometimes. Continue reading

signature

Exploring Creation with Botany

This year at our tutorial, the third graders are studying science through the discoveries of plants in the world around us. If you ask our three youngest students, they will quickly tell you a botanist is a person who studies living plants, and that they are in fact themselves botanists!

Here are some of the books we’ve read and/or had in our nature table book basket the past few weeks. Some we own and some we found at our local library.

To whet their appetites this past May for an upcoming year of botany studies, I had them each pick one of our plentiful iris flowers from the bed beside our house.

IMG_9530

IMG_9528

IMG_9524

Then, we took them apart piece by piece by piece. Flowers are simply miraculous! They were able to name parts as we studied the intricacy of the plant. There really isn’t a flower much more intricately made and beautiful both inside and out than the bearded iris. I personally love the purple variety, but the white ones we discovered beside our home are magnificent as well! Continue reading

signature